
If you’ve ever seen a metallic paint job, whether on a classic car or a chic piece of furniture, you know the allure of its shine and depth. The shimmering effect of metallic paint can turn the ordinary into the extraordinary.
But with that striking finish comes the responsibility of care and maintenance to keep it looking its best. This post aims to guide you through sealing metallic paint, a necessary step to protect and preserve its beautiful finish.
Contents
Understanding Metallic Paint: A Brief Overview
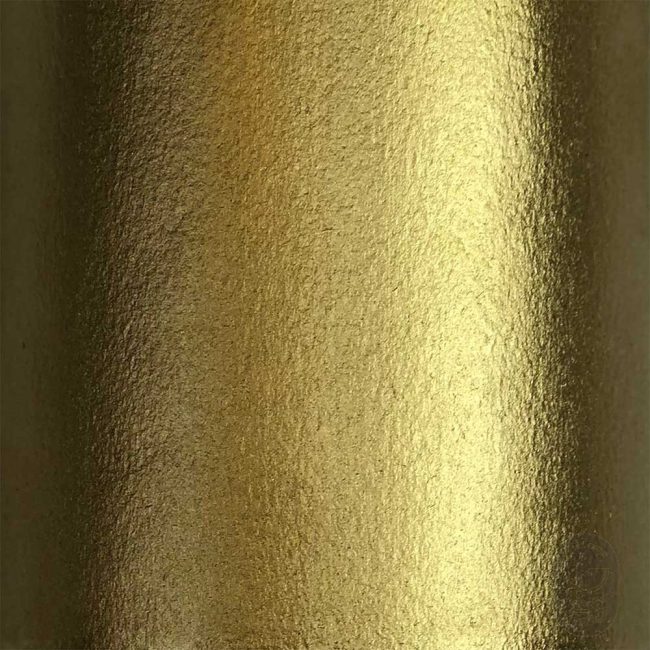
Diving into the world of metallic paint can feel like stepping into a science fiction movie. Its shimmering effect defies the laws of ordinary paints. So, what gives metallic paint that alluring appeal? The secret lies in the tiny metal flakes—often made of aluminum—mixed into a clear paint base.
Think of these flakes as countless little mirrors. They catch the light, then throw it back out playfully, creating a dazzling, multi-dimensional sparkle.
This is the magic that sets metallic paint apart from its non-metallic counterparts. This sparkle is a novelty and a transformative quality that can add depth and visual intrigue to various surfaces.
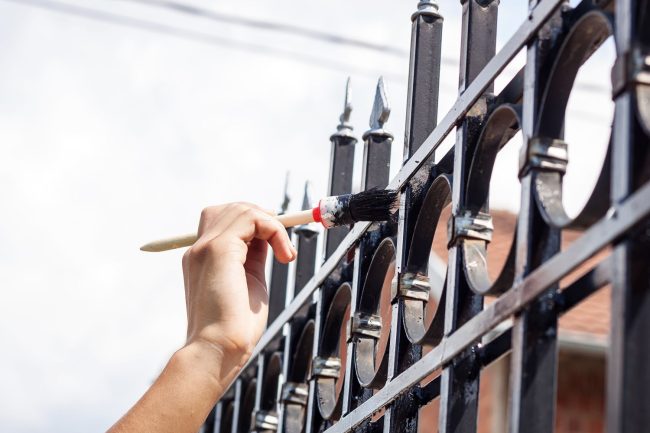
Imagine a vintage car sporting a coat of metallic paint, its surface glinting in the sun. Picture a chic piece of furniture, its metallic finish catching the light just the right way, turning an everyday object into a statement piece. Metallic paint is not just a product—it’s a tool for artistic expression.
From automobiles to home décor, crafts, and beyond, metallic paint brings an elevated aesthetic that other paints can only dream of. However, remember that it doesn’t just stop at silver or gold.
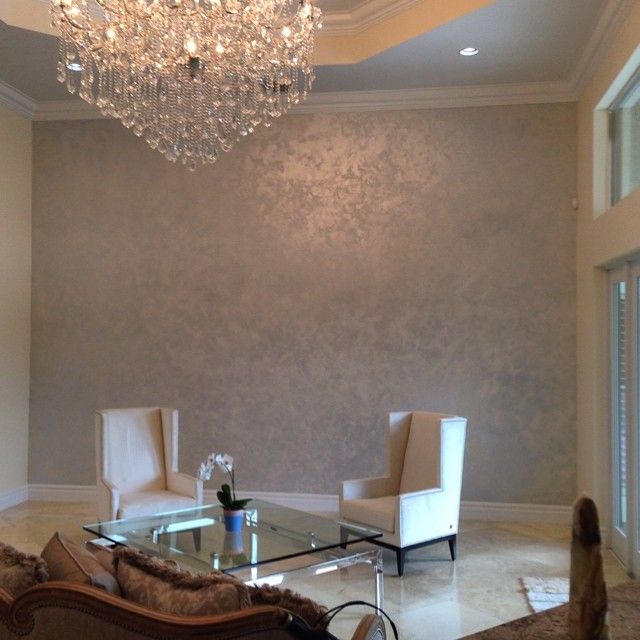
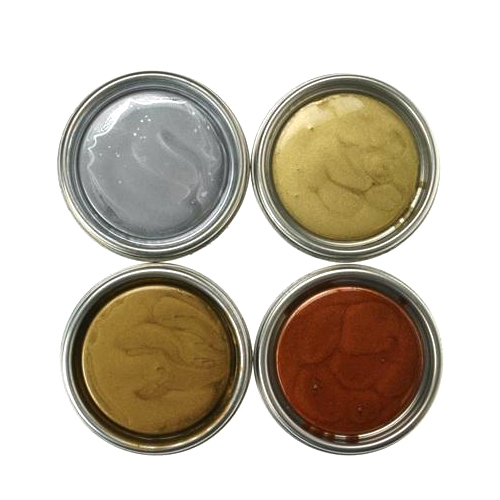
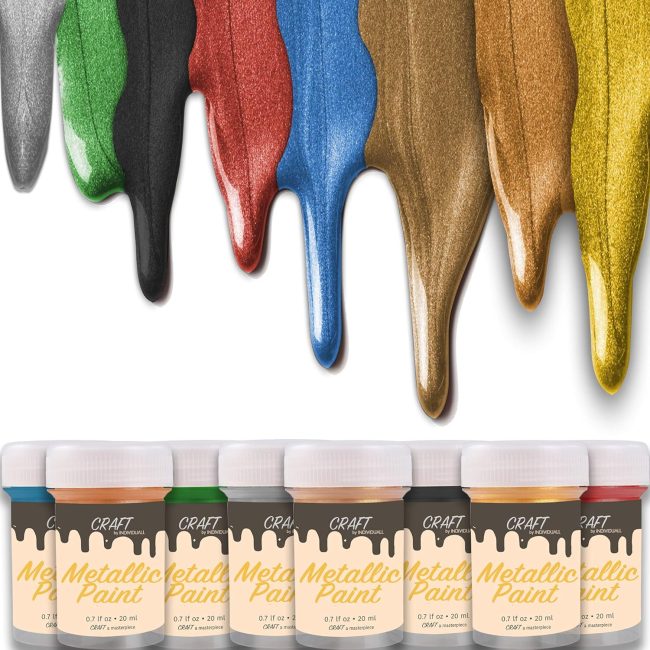
Metallic paint comes in an array of colors, so whether you’re drawn to a metallic black car paint, a sophisticated pewter metallic paint for your walls, or even a metallic blue paint for a craft project, the options are as vast as your imagination.
Unleashing the potential of metallic paint is about understanding its unique properties and embracing its playful, sparkling nature. Armed with this knowledge, you can venture into your next project with the confidence that you’re wielding paint that genuinely packs a punch. So, prepare to enter the extraordinary world of metallic paint, where your creativity can shine.
The Importance of Sealing Metallic Paint

A metallic paint job might dazzle the eyes with its brilliant shine and depth, but it’s also more susceptible to the rigors of time and the elements. Sunlight, moisture, and everyday touch and use can fade that gorgeous sparkle. Left unprotected, your metallic masterpiece could become a mere shadow of its former self.
That’s where sealing your metallic paint becomes a game-changer. A quality sealant protects against these wear-and-tear factors, preserving your metallic paint’s sparkle, depth, and richness.
But it’s not just about retaining color and shine. A sealant adds another layer of strength to your paint job, guarding against scratches and physical damage that can mar the surface.
Think of it as a superhero’s shield, taking on the hits so your metallic finish doesn’t have to. The result? Your metallic paint job will maintain its luster and integrity, staying vibrant and flawless for longer.
So, if you’re imagining a vintage car glistening in the sun, a statement piece of furniture catching the light at all the right angles, or a metallic wall paint adding an extra touch of sophistication to your living space, remember to seal the deal. Embrace the essential step of locking your metallic paint, and you’ll preserve its lustrous beauty and ensure that your creative expression stands the test of time.
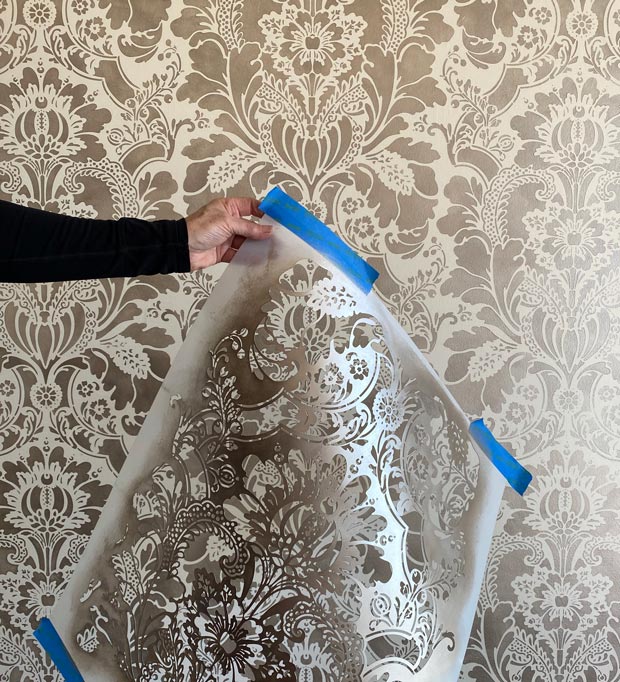
How to Properly Seal Metallic Paint: A Step-by-Step Guide
Roll up your sleeves, it’s time to dive into the practical part: sealing your metallic paint. Here’s your step-by-step guide, designed to walk you through the process and ensure a dazzling, long-lasting finish.
Step 1: Preparation is Key. Kick-off by ensuring your surface is squeaky, clean, and dry, free from dust, oils, or other surface impurities. These tiny culprits can hamper the adherence to the sealant, so it’s crucial to start on a clean slate.
Step 2: Choose Your Armor. It’s time to pick out your sealant: your metallic paint’s invisible shield. Ensure it’s compatible with your metallic paint. Acrylic-based sealants that dry clear are generally a good bet. The manufacturer knows best with all products, so read the instructions carefully.
Step 3: Application — Easy Does It. Now comes the fun part — applying the sealant. Be it a paintbrush or a foam applicator, pick your tool and use a thin, uniform layer of adhesive. Beware of the urge to go overboard — excessive sealant can result in drips and uneven coverage, stealing the spotlight from your metallic finish.
Step 4: Patience, Young Jedi. Once the sealant is applied, it’s time to play the waiting game. Allow the adhesive to dry based on the manufacturer’s instructions — usually a few hours. But remember drying is just half the story. The real hero is the curing process when the sealant hardens completely, transforming into a solid protective shield. This could take several days to a week, so patience is your best friend.
This practical guide to sealing metallic paint is your passport to preserving the shine and depth of your metallic masterpiece.
Follow it diligently, and you’ll lock in the sparkle and ensure your metallic finish stands tall against time and the elements. Now, armed with your newfound knowledge, seal the deal on your metallic project!
Duration of Drying and Curing: What to Expect
My friend, patience is a virtue, mainly when sealing metallic paint. Just like the finest of wines, it takes time to achieve perfection. While your sealant might seem ready and raring to go within just a few hours of application, don’t be fooled! This drying stage is just the opening act. The main event, curing, is still to come.
Curing is the superhero transformation stage where your sealant evolves from being merely ‘dry’ to becoming a rock-solid shield. This crucial phase could span from a few days to an entire week. The exact duration can vary depending on the sealant and ambient environment. For instance, factors like temperature and humidity can impact the curing time.
While your sealant is doing its superhero transformation, ensure you provide it with the ideal hideout. Place the painted object in a dust-free zone and somewhere dry to avoid moisture interfering with the curing process.
It may seem like a long wait, but remember: Rome was built a day ago. The wait will be worth it when you behold your metallic masterpiece, sealed to perfection, standing firm against time and elements. So brew a cup of patience, sit back, and let the sealant do its magic.
How to Make Your Metallic Paint
Who doesn’t love a DIY project? Creating your metallic paint is not just fun, but it also gives you complete control over the intensity of the shimmering effect. Think of it as mixing your magic potion.
It all starts with a transparent paint base, your blank canvas. To this, you’ll add your secret ingredient, the metallic powder. This powder, your magic dust, can be sourced from your local craft store or even online.
The trick is in the proportions. Start by adding a little of the metallic powder to the paint base. Stir gently and evenly, ensuring a homogeneous mix. You want every drop of your paint to have an equal share of the sparkle.
Watch your paint transform as you stir, taking on a glinting personality. If the sparkle isn’t enough, add more powder, little by little, until you hit your desired metallic effect.
The stirring is an essential part of the process. Shaking is a quick alternative, but beware! It could trap air bubbles in your paint, marring the smooth finish you’re aiming for.
Patience and a gentle hand are your allies here. With each stir, you’re not just mixing, you’re breathing life into your paint, awakening the shimmering spirit within.
Creating your metallic paint is about embracing the power to transform. It’s about the thrill of watching your paint evolve and come alive with a uniquely unique personality. It’s about the satisfaction of knowing that you’re the mastermind behind the dazzling effect. So, grab your stirring stick, and let’s dive into the world of DIY metallic paint. Time to stir up some magic!
Tips on How to Use Metallic Paint Effectively
Unleashing the transformative power of metallic paint requires a touch of technique and a sprinkle of insider knowledge. Think of these tips as your golden nuggets, designed to help you master the art of metallic painting.
Let’s start with an age-old adage: «Stir, Don’t Shake.» Remember the magic potion you stirred to create your metallic paint? This same principle applies even to store-bought metallic paints. Shaking might seem quick and easy, but it could introduce air bubbles into your paint. Stirring, on the other hand, maintains the smooth consistency of your metallic paint, setting you up for a flawless application.
Next on our list is the “Multiple Thin Coats” rule. The allure of metallic paint lies in its depth and multi-dimensional sparkle.
It’s best to build the effect through several thin coats rather than going in thick and heavy with a single coat to achieve this. Not only does this method offer a more even finish, but it also enhances the depth of the metallic effect.
As for the application, “Direction Matters.” Consistency is vital when it comes to metallic paint. Applying your paint strokes in the same direction creates a uniform path for the light to travel. This can significantly enhance the consistency of the shine, giving your paint job a professional touch.
Last but not least, “Use a Primer.” A primer acts as a canvas for your metallic paint, helping it adhere to the surface. But it’s not just about adhesion. A primer can enhance the metallic effect, giving you a more pronounced sparkle.
Armed with these tips, you can dive into your metallic painting project.
Remember, technique and knowledge are just as crucial as the quality of the paint itself. So stir up your paint, apply those thin coats in the same direction, prime your surface, and watch metallic paint’s magic unfold before your eyes. Time to make your world shine!


