
Unleashing your creativity through art is a beautiful way to express yourself and a fantastic stress reliever. One of the exciting mediums of art is ceramic painting.
This engaging art form lets you put your design on a tangible, usable object. Today, we’ll dive into the world of ceramic paint – where to use it, how to make it, mix it, seal it, clean it, and just how long it takes to dry.
Contents
- 1 Understanding Where to Use Ceramic Paint
- 2 How to Make Ceramic Paint at Home
- 3 Mixing Your Ceramic Paint for Optimal Results
- 4 Sealing Your Ceramic Paint to Last
- 5 Cleaning Ceramic Paint from Your Tools and Surfaces
- 6 Patience is Key: How Long Does Ceramic Paint Take to Dry?
- 7 Conclusion: Bring Your Creative Ideas to Life with Ceramic Paint
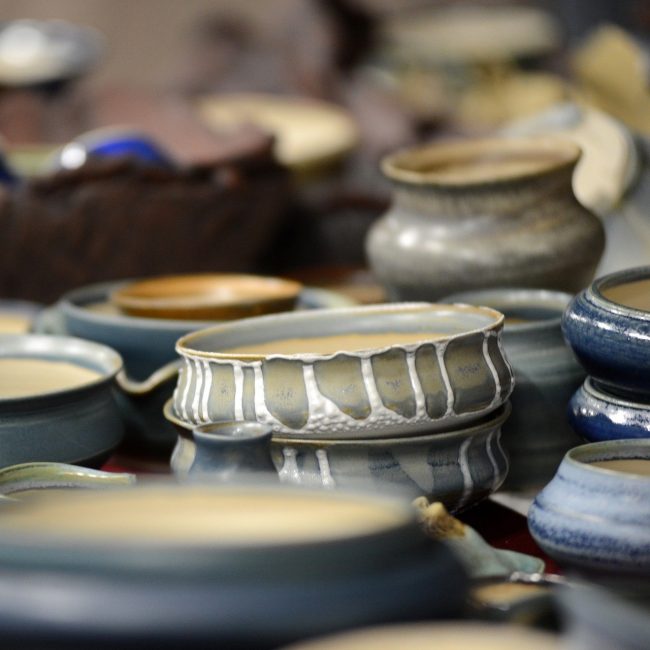
Understanding Where to Use Ceramic Paint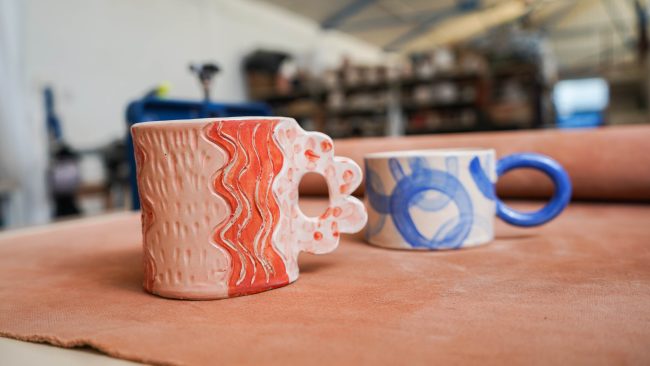
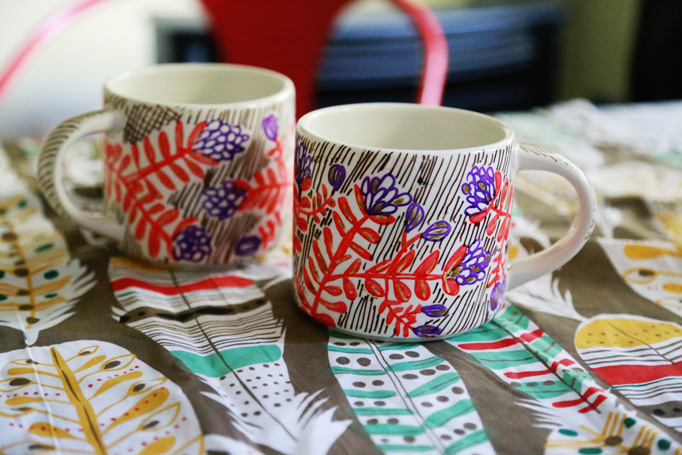
Ceramic paint isn’t picky — it plays well with many surfaces, making it a favorite amongst artists and DIY enthusiasts. The popular choice, of course, is pottery. Vases, pots, and plates often become canvases for this versatile medium, allowing the artist to inject personality and flair into everyday items.
However, the ceramic paint’s flexibility continues. Tiles, for instance, are another fantastic platform for showcasing your creativity with ceramic paint. Whether adding a pop of color to a monochrome backsplash or designing a complex mosaic pattern on your bathroom floor, ceramic paint is your reliable ally.
The beauty of ceramic paint is its ability to breathe new life into any ceramic object, transforming it from drab to fab. Let your imagination run wild — the world of ceramic paint is your oyster!
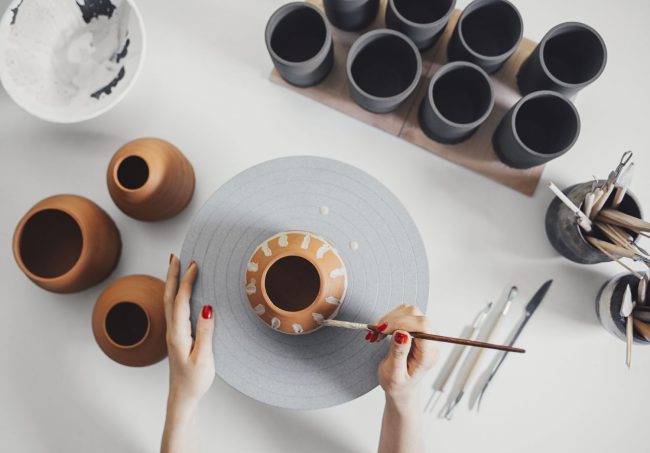
How to Make Ceramic Paint at Home
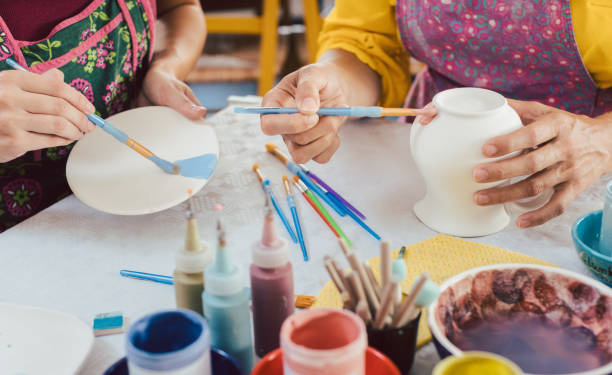
Creating your ceramic paint is a budget-friendly option and an exciting adventure into the heart of artistry. You will need a few items to kick-start this process, including dry pigment, readily available at any local art store, a mixing medium, such as water or an acrylic base, and a palette knife for mixing. Begin the process by introducing a modest measure of dry pigment into the mixing medium.
With your palette knife at the ready, blend the two elements. Your strokes should be smooth and steady until the mixture becomes consistent. This DIY approach allows you complete control over the texture and hue of your ceramic paint, adding an extra dash of personal touch to your ceramic painting endeavor.
Remember, the key here is not to rush — take your time to ensure your homemade ceramic paint is perfectly mixed for your next masterpiece.
Mixing Your Ceramic Paint for Optimal Results
Striking the right balance when mixing your ceramic paint can feel like a chemistry experiment. After all, the consistency of your paint will ultimately affect its vibrancy and application. If it’s too watery, you may lose some of the richness in color.
If it’s too thick, you might end up with undesirable clumps. The trick lies in carefully adding your mixing medium to the pigment. Just a little at a time, gradually blending as you go, will help you achieve a perfect creamy texture. It’s a good practice to remember that you can always add more medium to thin the paint, but rectifying a watery mixture can be a challenge.
A symphony of patience, precision, and practice, mixing your ceramic paint is a rewarding step in your creative journey. Please make the most of it; this is where you can experiment with creating the perfect palette for your ceramic masterpiece. So, roll up your sleeves, grab that palette knife, and let the mixing begin!
Sealing Your Ceramic Paint to Last
Once ceramic paint brings your artistic creation to life, it’s time for an essential finishing touch — sealing. This step is far more than a mere afterthought; it’s your assurance that the work of art you’ve poured your heart into stands the test of time.
Sealing involves applying a protective ceramic sealer over your dried paint. This process forms a safeguarding barrier that shields your design from potential damage and fading. Plus, it imparts a lovely lustrous finish, adding that cherry-on-top visual appeal.
To begin, select a brush or sponge appropriate for your piece. The size and texture will depend on the intricacy of your design and the surface area you’re working with.
Apply the ceramic sealer in even strokes, ensuring complete coverage. The key is to take it slow; a rushed application might result in streaks or missed spots.
After the sealer is applied, your creation requires a little more patience. Allow it to dry for a total of 24 hours. This is not a step to shortcut. Give your piece adequate drying time to achieve the proper sealing effect.
Next, it’s time for a bit of heat. As per the instructions on the sealer, baking your piece in your oven helps solidify the seal, enhancing its protective properties.
In all these steps, remember that quality should never be compromised. Investing in a high-grade ceramic sealer and spending the required time for each step goes a long way in preserving the beauty of your ceramic art. After all, each masterpiece deserves to shine in all its glory for years.
Cleaning Ceramic Paint from Your Tools and Surfaces
When the creative magic ends, it’s time to bring on the cleaning charm. Preserving the longevity of your art tools is just as important as the painting process itself.
Forgetting to clean your tools after a ceramic paint session can lead to hardened bristles and a ruined palette. And let’s be honest, once-dried ceramic paint can be a stubborn opponent.
Immediately after your painting session, start the cleaning process. Warm, soapy water will be your best friend during this time. Gently massage the bristles of your brushes under the running water, allowing the soap to work its way through. Rinse and repeat until the water runs clear and the brush is free from any paint residue.
Don’t ignore your palette, either. Having a paint-splattered palette might seem like an artist’s badge of honor, but trust me, a clean palette makes mixing colors more accessible and more accurate. So, treat it to the same warm, soapy bath as your brushes.
What if you’ve been an artist lost in the creative moment and need to remember about cleaning your tools? Don’t worry, all is not misplaced.
For these more stubborn, dried paint scenarios, a paint remover solution will be your saving grace. Let your tools soak in the solution per the manufacturer’s instructions, and you should be able to restore them to their original glory.
Remember, taking good care of your tools doesn’t just prolong their life; it also ensures your future ceramic painting sessions run smoothly. Remember this cleaning routine, and you’re all set for many more colorful art adventures!
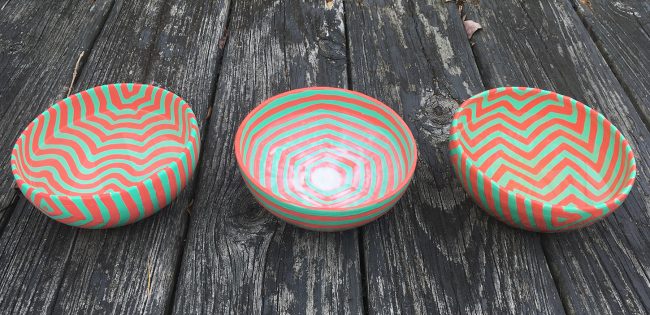
Patience is Key: How Long Does Ceramic Paint Take to Dry?
When it comes to ceramic painting, understanding the drying time is crucial to ensure a perfect finish. The waiting game starts after your last brush stroke, and it can be like watching paint dry — literally. The drying time of ceramic paint is influenced by factors such as the thickness of your paint layer and the surrounding humidity levels.
On average, a light coat of ceramic paint will dry to the touch within 24 hours. However, this means your creation is still being prepared for the showcase.
To achieve a fully cured, rock-hard finish that can withstand daily use, you should give your masterpiece at least 72 hours of drying. This may seem like a long time to wait, but it’s essential for the longevity and durability of your artwork.
Refrain from letting the temptation of rushing things lead to a smeared or inconsistently dried design. Patience truly is a virtue when it comes to ceramic painting. Use this waiting period as an opportunity to plan your next art project or to admire the progress of your current one.
Remember, good things come to those who wait. So, let nature take its course and allow your ceramic paint to dry thoroughly. This patience will pay off when you see the outcome – a beautifully painted ceramic piece that is as tough as it is attractive! The waiting might seem endless, but the result is a testament to your artistic skill and patience, ready to be admired and cherished for years.
Conclusion: Bring Your Creative Ideas to Life with Ceramic Paint
There you have it — a comprehensive guide to making, using, and preserving your ceramic paint! This fascinating art form truly opens up a world of possibilities.
Whether sprucing up everyday items or creating striking art pieces, the potential with ceramic paint is as limitless as your imagination. Every step is an integral part of your creative journey, from crafting the perfect paint mixture to mastering the art of sealing and cleaning.
But remember, the real magic lies in the end product and the process itself. So don’t rush, take your time, and embrace the joy of creation. The process might be detailed, but your patience will be rewarded with a personalized, durable piece of art that is uniquely yours.
So gather your materials, put on your artist’s cap, and dive into the beautiful world of ceramic painting. Let your imagination run wild, and your hands craft magic with ceramic paint!


