
We all have that one piece of furniture that seems to stick out like a sore thumb, whether it’s a thrift store find that doesn’t quite match the decor or an inherited piece that’s too sentimental to toss. What if I told you there’s a simple solution to transform those pieces into something spectacular and personalized?
Enter chalk paint – the DIY enthusiast’s secret weapon for a furniture makeover. Let’s dive into the exciting world of chalk paint and explore how to use it to breathe new life into your furniture.
Contents
What is Chalk Paint?
Ever wonder what gives chalk paint that distinctive matte and powdery look? You might be surprised to know that chalk isn’t an ingredient, contrary to its name. Chalk paint earned its moniker from the chalky appearance it imparts to any surface it’s applied to.
This is the secret sauce furniture artists and DIY hobbyists rave about — a paint that’s so forgiving that it practically paints itself!
Here’s the scoop: chalk paint is a remarkable type known for its stellar adhesive qualities. That means you can bid farewell to the laborious process of sanding or priming your furniture. This low-prep paint loves to cling to any surface it meets, from wood and metal to ceramic and fabric. Just clean your item, and it’s all set for its makeover.
The joy of using chalk paint lies in its simplicity. It takes the hard work out of furniture painting while allowing you to express your creativity. Just wait until you see that matte finish come to life — it’s a sight that will make your DIY heart skip a beat!
The Benefits of Using Chalk Paint
Dive into the world of DIY makeovers with chalk paint, and you’ll be amazed by its charm and utility. Revered by both novices and seasoned furniture painters, chalk paint has many benefits that make it a DIY enthusiast’s dream.
For starters, this unique paint is known for its incredible sticking power. Whether working with a wooden table, a metal chair, a ceramic vase, or fabric upholstery, chalk paint is ready to adhere like a charm, eliminating the need for extensive prep work.
Unlike other paint types, chalk paint dries rapidly, reducing the waiting time between coats. This is especially handy when you’re knee-deep in a project and buzzing with creative energy. Plus, its thick consistency can save you from the tedious process of applying multiple coats, saving you time and keeping those paint costs in check.
But the magic of chalk paint isn’t just in its practical features. It’s in the beautiful, matte finish it imparts, which brings a richness and depth to your pieces that’s hard to replicate. The result is a custom, personalized piece as individual as you are.
In DIY and furniture makeovers, chalk paint isn’t just a medium—it’s a game-changer. Embrace the ease, versatility, and unique aesthetic of chalk paint, and watch your projects transform from simple pieces of furniture into art.
DIY: How to Make Your Chalk Paint
Imagine creating a piece of art with a paint color uniquely your own. This dream becomes a reality with chalk paint, and the process couldn’t be more straightforward. You can whip up your batch of chalk paint in a shade that speaks to your creative spirit in a few easy steps.
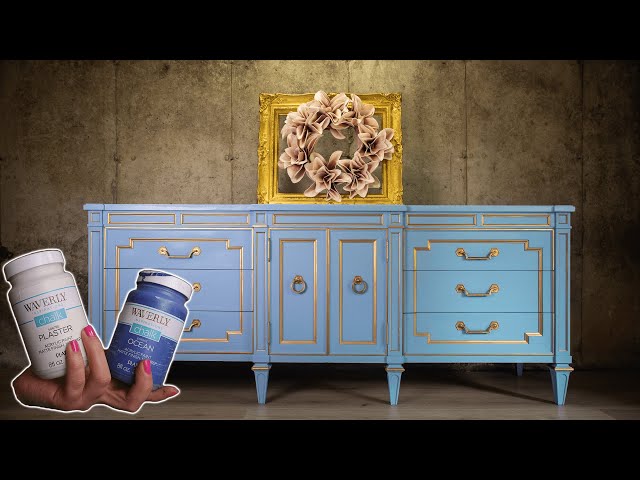
Let’s get started! All you need is three ingredients: flat latex paint in your color of choice, plaster of Paris, and water. It’s as easy as pie.
Step one is to get your plaster of Paris. You’re going to need one part of this. Next, you’ll want to mix that with one part of the water. The goal is a smooth mixture, so take your time to eliminate lumps for the best result.
Once your plaster and water concoction is silky smooth, it’s time for color. Add three parts of your chosen latex paint to the mix. This is where your creativity comes into play. Want a bright, bold red? Go for it. Would you prefer a muted, soft blue? The choice is yours.
After adding your paint, stir away. Ensure everything is thoroughly combined for a uniform, consistent color. And just like that, you’ve made your chalk paint. Yes, it is that simple!
So, remember this recipe next time you’re itching for a DIY project but need help finding the perfect chalk paint shade. You’ll have the freedom to customize your paint to your heart’s content and gain the satisfaction of knowing you’re using a color uniquely yours. Now, it’s time to grab that brush and make your furniture transformation dreams come true with your DIY chalk paint.
How to Paint Your Furniture with Chalk Paint
Before embarking on your furniture transformation journey with chalk paint, thoroughly clean the surface you’ll be working on. There’s no need for a primer, just a clean canvas ready for its makeover.
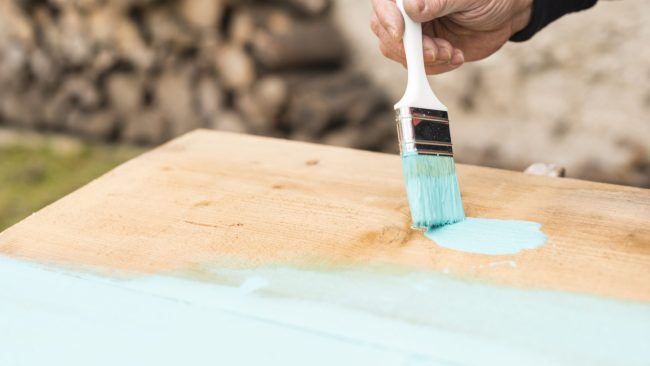
Once that’s done, it’s time to pick up your brush and get painting. Remember to opt for a quality brush; a good brush can make a difference in the application process. Begin applying your chalk paint in slender, uniform layers. When it comes to chalk paint, less is more. You can always build on the initial layers, but removing excess paint can be a chore.
With chalk paint, you’re not just coloring your furniture, you’re giving it character. So, take your time and work in small, manageable sections. This ensures you’re paying attention to every inch of the piece, making sure it’s coated evenly.
Also, chalk paint is renowned for its quick-drying properties. This might seem daunting, but it’s a bonus. You won’t need to wait for the paint to dry before adding another layer.
So, make use of this feature, but remember to work swiftly. Once you’ve completed a section, move on to the next one, and before you know it, you’ll be looking at a wholly transformed piece of furniture.
It’s always best to start with a light layer of paint. If you want a deeper shade, you can easily add another coat. Alternatively, if you’re happy with the soft wash of color from the initial layer, you can leave it at that. It’s all about personalizing the piece to your preference.
In essence, transforming your furniture with chalk paint isn’t just a DIY project, it’s a creative endeavor. So, roll up your sleeves, let your creativity flow, and have fun! Trust me, the result is worth it.
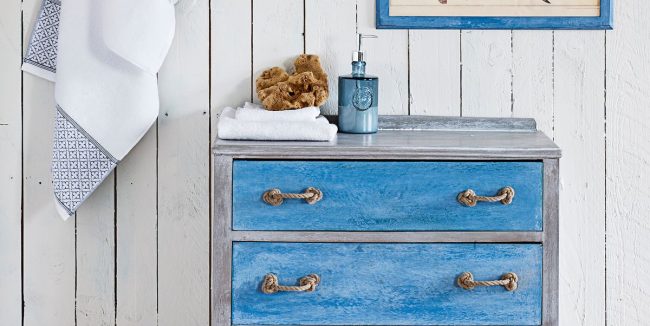
Create an Antique Finish with Distressing Techniques
Are you craving a dose of old-world charm for your furniture? Look no further! You can achieve an effortlessly antique finish that exudes shabby chic appeal with chalk paint and a few easy distressing techniques. This is where the fun ramps up in your DIY journey!
Begin by applying your homemade chalk paint on your chosen piece as usual. Remember those swift, even strokes from our earlier discussion? Yes, they are crucial here too. Once you have given it ample time to dry, it’s time to share your piece with some character.
Grab some fine-grit sandpaper, and let’s start on the exciting, distressing process. The key here is to imagine where natural wear and tear would occur over time. Think about the corners, edges, raised detailing – anywhere that might naturally be bumped or brushed against over the years.
Now, gently scuff those areas with sandpaper, allowing some of the underlying material to peek through. This creates an illusion of age and wear, infusing your piece with a charming, lived-in feel. But remember, the goal is to age gracefully, not to mar the surface, so a light touch is imperative.
Distressing isn’t an exact science but rather an art. It’s about adding a hint of history and a dash of charm to your piece. But don’t let this intimidate you. Embrace the process, go with your gut, and, most importantly, enjoy every step of this creative journey.
With chalk paint and a little bit of elbow grease, you’re not just giving your furniture a facelift but also weaving a story of time-worn elegance. So, let loose your creativity, and let’s breathe some vintage life into your furniture with the magic of distressing and chalk paint. Happy painting!
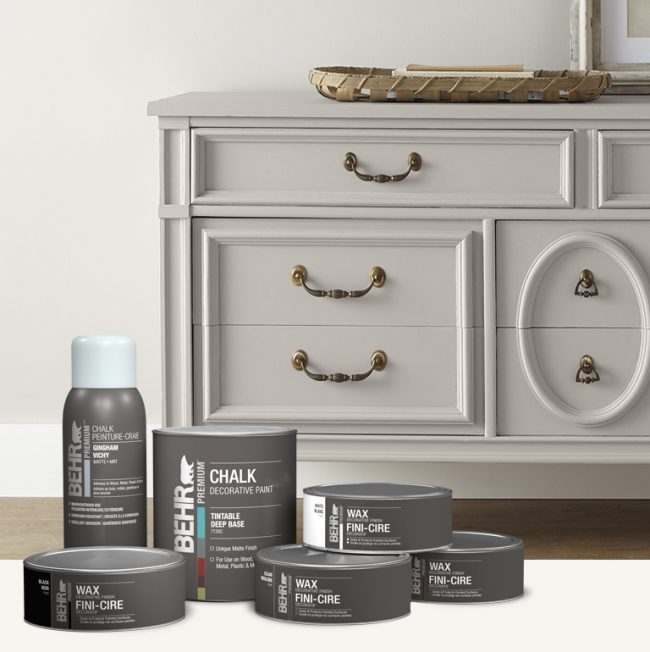
The Final Touch: Applying Wax
Picture this — you’ve spent hours lovingly applying your homemade chalk paint to that once-forgotten piece of furniture.
You’ve breathed new life into it, giving it character and charm with your creative touch. It’s now a stunning piece of art that reflects you. But how do you make sure this transformation is not just beautiful but durable, too? The answer lies in one final, crucial step — applying wax.
Consider this waxing step as the protective shield for your artistic masterpiece. It not only enhances the rich, matte finish of the chalk paint but also provides a layer of sturdiness that will help your piece withstand the test of time. And don’t worry, the process is as easy as pie!
Begin by choosing a quality clear wax. A little goes a long way so that you won’t need much. Use either a wax brush or a soft cloth to apply a thin layer of the wax onto your furniture, working in small patches for precision. This allows you to ensure that each part of your piece gets the care and attention it deserves.
But remember, patience is vital. Allow the wax to dry and settle onto the surface. As it dries, it penetrates the paint, creating a bond that enhances the durability of your piece. Once dry, it’s time to bring out the luster. Buff the waxed areas with a soft cloth, revealing a subtle sheen that adds an extra dimension to your paint’s finish.
For those who crave an extra pop of color or added protection, consider using a dark wax after the clear one. This deepens the hue of your chalk paint and gives your piece an extra layer of protection, making it even more resilient to wear and tear.
Applying wax is the crowning glory of your chalk paint project. It locks in the beauty and guards against damage, ensuring your transformed piece stands the test of time. So take a moment to revel in the fruits of your labor, and then grab that wax – your masterpiece awaits its final, protective touch!


