

Acrylic paint can be a handyperson’s best friend or worst nightmare. Its versatility allows it to be used on various surfaces ranging from wood to concrete. However, the fact that it dries quickly and is water-resistant can make removing acrylic paint a real challenge.
Fear not, as this handyman’s handbook will guide you through the entire process, from using and getting acrylic paint to removing, sealing, and cleaning it.
Contents
How to Use Acrylic Paint

Acrylic paint is hailed for its adaptability and ease of use, suitable for various materials such as canvas, ceramics, fabric, metal, and even wood. Begin the painting process by preparing the surface that needs to be painted.
It includes cleaning it meticulously to remove dust or other impurities that could interfere with the paint’s adhesion. Once cleaned, let it air-dry completely.
Moving on to the paint, you must mix it with water on a palette. The consistency you’re aiming for depends on the type of finish you want. A thinner mixture will provide a watercolor-like effect, while a thicker one will give you a more opaque, vibrant finish. Don’t be afraid to experiment to find what works best for you.
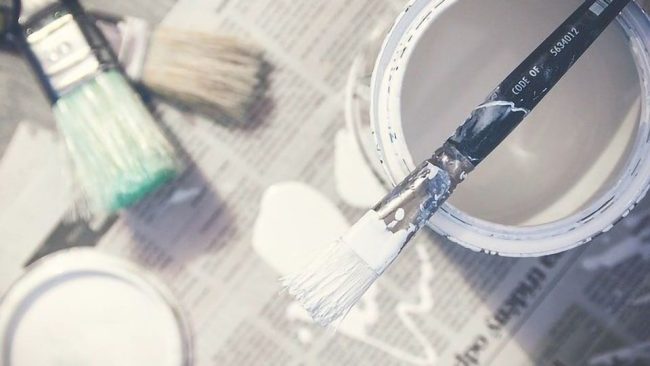
When applying the paint, use a brush or a roller depending on the surface size and the texture you’re going for. Ensure it is spread evenly across the surface to avoid lumps or streaks, creating a uniform layer of paint.
Patience is critical here; let the paint dry completely before adding coats. Using a new layer of semi-dry paint is crucial, which can lead to clumps and uneven color distribution.
Remember that acrylic paint dries quickly and is water-resistant; hence, any corrections or touch-ups should be done while the paint is wet. As you become more comfortable with the medium, you can explore advanced techniques like layering, glazing, and impasto. Acrylic paint is a world of opportunity for the creative handyman.
How to Get Acrylic Paint
Acquiring acrylic paint is a simple process. You can find a vast selection at local craft and home improvement stores. These establishments offer an array of colors, finishes, and sizes to cater to any project. It’s worth taking the time to explore your options and choose paints that best suit your needs.
Alternatively, online retailers present a broader spectrum of choices. From specialty hues to larger quantity bundles, you’ll find options that brick-and-mortar stores might need to stock. When shopping online, ensure you purchase from reputable sites to avoid counterfeit or substandard products.
Consider purchasing your acrylic paints in larger quantities for more substantial tasks or regular use. Buying in bulk can offer considerable cost savings over time. But remember, acrylic paint dries quickly upon exposure to air.
If you opt for large containers, close them properly after each use to maintain the paint’s quality and extend its shelf life.
Finally, when deciding how much paint to buy, it’s always wise to overestimate a little. Having some paint left over is better than running out in the middle of a project. It allows for potential errors, additional coats, or other unforeseen circumstances. So, factor in extra when purchasing to ensure a smoother painting experience.
How to Remove Acrylic Paint
Eliminating acrylic paint can be tricky and requires patience, particularly when it’s dried up. If you’ve got fresh, still wet paint, swiftly get a cloth or some paper towels and blot it out. Be careful not to rub the paint as it can lead to its spread, exacerbating the situation.
Should you encounter dried paint, your best allies are a plastic scraper or a blunt-edged knife. These tools gently dislodge the dried paint without damaging the underlying surface. Remember, the key here is to apply moderate pressure while scraping in a direction away from you to prevent possible injuries.
When the paint proves stubborn and won’t come off, you call in the heavy artillery — a paint stripper or remover. Its chemical solution is specifically designed to break down the structure of the paint, making it easier to remove.
However, it’s important to note that these chemicals can be harsh and potentially damaging to certain materials. Hence, following the manufacturer’s instructions is essential to prevent possible damage.
Always test a small, hidden area first to ensure the stripper or remover doesn’t discolor or damage the surface. After application, let the solution sit for a few minutes to do its work before you start scraping off the paint again.
Also, remember that using a paint stripper or remover requires safety precautions. The chemicals used in these products can be harmful if they come into contact with your skin or eyes or are inhaled. Therefore, wear protective gloves and glasses, and ensure you’re working in a well-ventilated area.
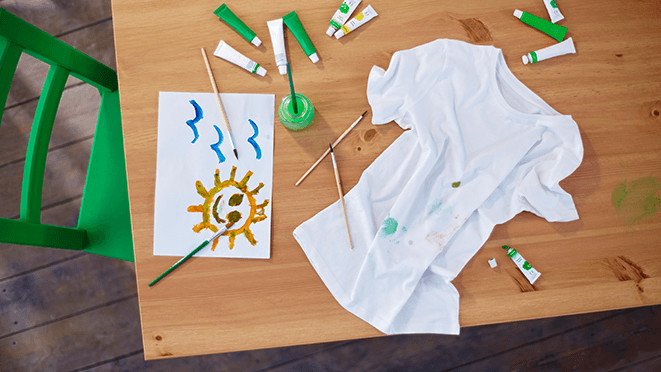
The process may differ if your project removes acrylic paint from clothes or fabrics. You can use warm water and mild dish soap to remove the paint, depending on the fabric. However, always check the care instructions for the fabric before proceeding.
How to remove dried acrylic paint from clothes without rubbing alcohol
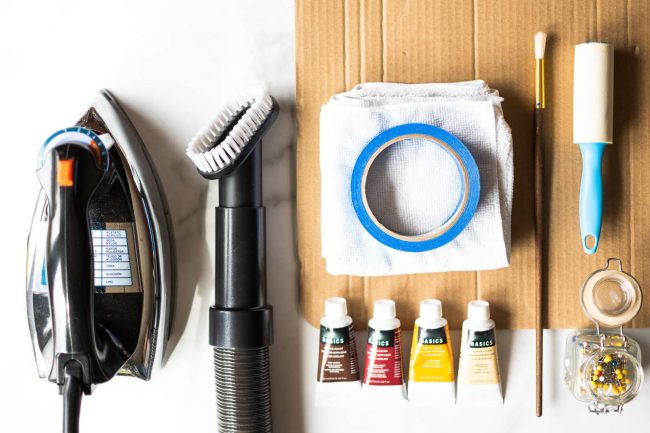
Removing dried acrylic paint from clothes without rubbing alcohol involves a few simple steps and items you likely already have at home. Always verify the care instructions for the fabric you are treating to prevent potential damage.
The first step is to loosen the dried paint. Using a spoon or the dull side of a knife, gently scrape away as much of the paint as you can. Be careful not to tear or damage the fabric. Remember, the goal is to remove the paint, not the fabric underneath.
Next, you’ll need warm water and a mild dish soap or detergent. Soak the stained area in this solution for about 20 minutes. The warmth of the water coupled with the soap will help break down the acrylic paint further. This step may need to be repeated if the stain is particularly stubborn.
Following the soaking, gently blot the stain with a soft cloth or sponge. The motion should be dabbing or pressing, not rubbing, as this can spread the paint further into the fabric. Ideally, you should see the stain start to lift.
For stubborn stains, employ a toothbrush. Dip the brush in warm, soapy water and gently scrub the stain. Be sure to work from the outside of the stain inward to avoid spreading it.
After these steps, rinse the garment thoroughly in cold water. Ensure all soap residue is removed, as it can attract dirt if left on the fabric.
The final step is to wash the garment as usual. Check the care instructions for the appropriate settings. It’s best to air dry the garment after washing. Before drying, check to make sure the stain has been entirely removed. Drying can set the stain, making it even harder to remove.
If the stain persists after this process, consider seeking professional help. A professional cleaner may have more specialized tools and solutions to tackle such stains.
Remember, patience is vital in removing dried acrylic paint from clothing. You might only get some of the paint out on the first try, but persistence often pays off. Prevention is always better than cure, so try to remove any paint stains while they’re still wet in the future.
How to Seal Acrylic Paint

Sealing acrylic paint is essential in preserving your work against potential damage caused by dust, moisture, and ultraviolet light. Before embarking on sealing, confirm that the painted area is thoroughly dry. It might take longer depending on the thickness of the paint layers applied, so patience is crucial here.
Once you know your artwork is dry, your next step involves selecting an appropriate sealant. Remember that the type of sealant you use depends on the surface you’ve painted. For instance, a sealant meant for canvas might not be suitable for wood or metal. Therefore, select a sealant that complements your material for optimal results.
You can use either a brush or a roller when applying the sealant. The choice here largely depends on the size of the surface. Larger surfaces call for a roller for a quicker application, while smaller, intricate areas might need a brush for better control and precision.
As you apply the sealant, strive for an even distribution to avoid unsightly patches or streaks. Carefully cover every bit of your painted surface, ensuring no spot is left unprotected. Look for bubbles or lumps in your sealant layer, which may lead to cracks once dried.
Following the application, you need to let the sealant dry undisturbed. The drying time varies depending on the type of sealant used, the thickness of the layer applied, and the environmental conditions. To be safe, leaving it to dry for at least 24 hours is recommended.
Remember, sealing aims to protect and preserve your artwork without altering its appearance. Therefore, select a sealant that aligns with the finish of your artwork, whether it’s glossy, satin, or matte. By adhering to these guidelines, your sealed acrylic painting will maintain its vibrancy and durability for years.
How to remove acrylic paint from a canvas
Removing acrylic paint from a canvas is an intimidating task. Still, with a gentle touch and patience, you can effectively strip your canvas of unwanted paint without causing damage.
As discussed earlier, start with carefully using a plastic scraper or dull knife. These tools can help you gently lift off the dried paint, working in a direction away from your body for safety.
Be cautious not to puncture or tear the canvas in the process. If the paint has been recently applied and is still wet, blot it with a clean cloth or paper towel, avoiding rubbing movements that may smudge it further.
For stubborn spots, a paint remover or stripper can be your saving grace. However, remember these products can be potent and should be handled carefully.
Always protect your eyes and skin with suitable protective gear, and use these products in a well-ventilated area. As we stressed before, it is crucial to adhere to the manufacturer’s instructions, applying only the recommended amount to avoid damaging the canvas fibers.
Before you go all in, always conduct a patch test on a discreet corner of the canvas to ensure it can tolerate the product.
Once the paint stripper has been applied, let it sit for a few minutes or the time specified on the product. A waiting period is necessary for the chemicals to break down the paint. After this, using your plastic scraper, gently remove the now-loosened paint. Remember, slow and steady wins the race; the last thing you want is to damage your canvas in a rush.
Thoroughly wash your canvas with warm, soapy water after removing the paint to clear out any remaining traces of the stripper. Rinse the canvas entirely with clean water to ensure all soap and stripper residue is eliminated.
Dry your canvas naturally in a flat position, away from direct sunlight. The step may take longer, but rushing it with a hairdryer or other heat sources could warp or shrink your canvas, damaging it permanently.
Remember, not all acrylic paint stains might come out ultimately, especially if the paint has had time to settle into the canvas fibers. However, once the canvas is clean and dry, it’s ready for your next artistic endeavor. Practice makes perfect, and each painting project is a chance to hone your skills and master the art of acrylic paint removal.


