
From novice DIYers to seasoned home renovators, everyone aims for a professional finish when painting a room. However, achieving this can be challenging without the proper knowledge and techniques. This post offers efficient strategies to help you paint a room like a pro, from preparation to application to final touches.
Contents
Understanding the Importance of Cleaning Before Painting
Before you envision that fresh pop of color on your walls, you must realize that cleanliness is the unsung hero of a successful paint job. This is where your pursuit of professional results begins.
Your walls might look spotless but often harbor invisible dust, dirt, and grime. Painting over these can prevent the paint from adhering correctly, leading to an uneven finish and reduced longevity of the paintwork.
What’s the best way to clean your walls? You don’t need anything fancy — a mild detergent and warm water will do the trick. Gently wipe down the walls with a sponge or a soft cloth, paying particular attention to the corners and areas behind the furniture. Rinse the soap off thoroughly to avoid leaving any residue that might interfere with the paint.
The same rule applies if you plan to paint any furniture — cleanliness is paramount. Make sure you clean these pieces thoroughly as well.
Remember, a clean surface is a canvas ready for the masterpiece you will create with your paint. Ensuring your walls and furniture are clean before you start sets the stage for a professional finish. So grab that cleaning bucket, and let’s get started!
Choosing and Making the Right Color
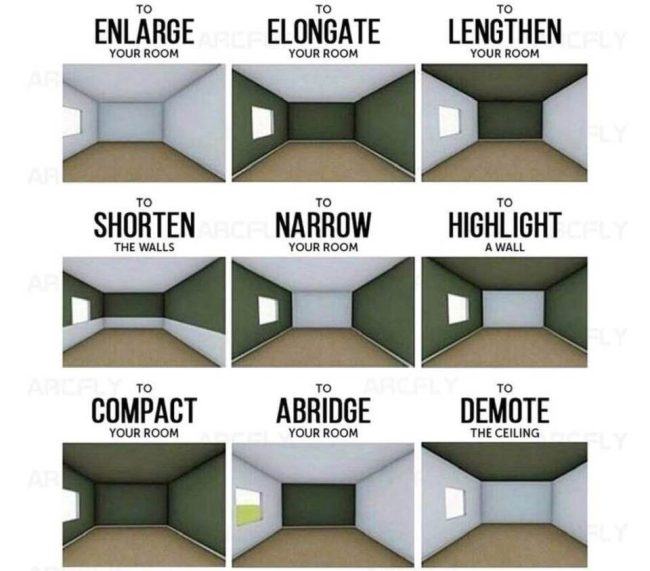
You are choosing the perfect hue to breathe new life into your room. Yes, it’s your space, and the color should speak to your taste, but bear in mind some practical factors to ensure the color works harmoniously within the room.
How much natural light does your room get? What’s the size of the room? What’s its primary function? All these questions can guide your color choice towards something that doesn’t just look good but also feels right in the space.
Once you’ve narrowed down your options, avoid the common pitfall of choosing your final color based on a small paint swatch. Instead, purchase small sample pots of your top choices and paint a generous patch on your wall. Viewing the colors at different times will give you a more accurate sense of how they’ll look when the entire room is painted.
Ensuring you have enough paint to complete your project is also critical. Measure your room and consult the paint retailer to determine the appropriate quantity. This prevents the inconvenience and inconsistency risk of running out of paint partway through the job and needing to buy more.
Now, let’s talk about making the color. When you purchase your paint, it must likely be mixed at the store. This is done thoroughly to ensure the pigment is evenly distributed throughout the can. Once you’re ready to paint, stir the paint again before application and intermittently throughout the job to maintain the color consistency.
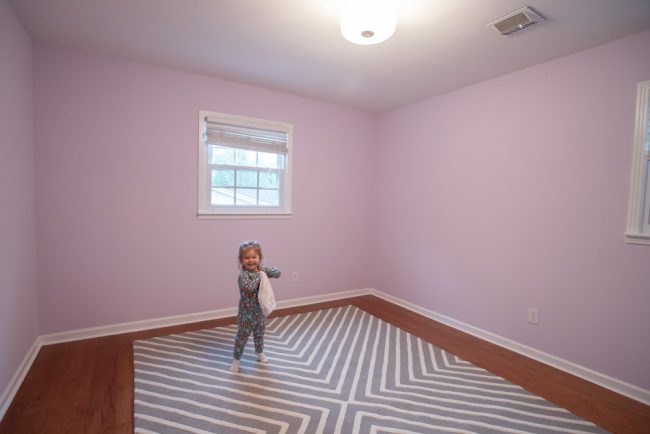
While choosing and making the right color may seem daunting, remember that the final result will reflect your style and transform your room beautifully. This process is part of the journey to a professional finish, and the result will surely be worth the effort.
Remember, paint is transformative, and the right color choice will make your room come alive. So be bold, trust your instincts, and let the color transformation begin!
Getting Your Room Ready for the Painting Process
You’ve scrubbed, selected, and mixed your paint, and now it’s time to set the stage for your painting project. To achieve that professional finish, preparing the room meticulously is crucial. Let’s dive in and get your space prepped for transformation.
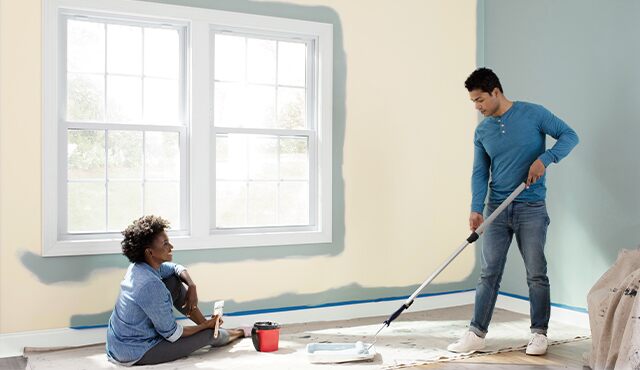
Start by bidding farewell to furniture and decorations, removing them from the room. This keeps them safe from stray paint drops and gives you ample space to move around freely as you paint. Is there a bulky item that will stay the same? Fear not. Cover it with a durable drop cloth or plastic sheeting, covering every inch to ward off any potential paint splatters.
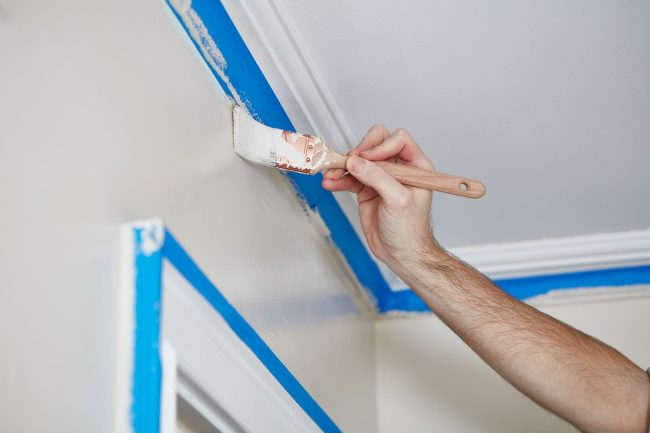
Focus on the finer details once the furniture is out of the way. Protect your window sills, trim, and outlets from accidental strokes with a reliable painter’s tape. Ensure the tape is applied smoothly and securely to prevent any paint seepage. This small yet essential step will keep your surfaces crisp, clean, and professionally neat.
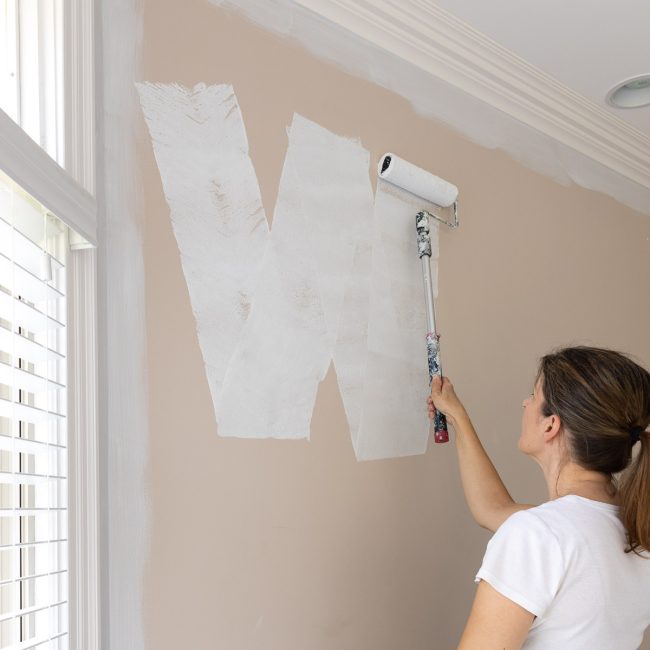
Now, let’s talk primers. While it might be tempting to dive straight into painting, applying a primer beforehand is a crucial step you should take. This unsung hero prepares your walls, creating an ideal, uniform canvas for your paint to adhere to.
Not only does it help the paint stick better, but it also enhances the paint’s durability and color vibrancy. So, invest in a good primer and apply it evenly to your walls, letting it dry completely before moving on to the main event.
This room preparation process might seem tedious, but these careful preparations make all the difference between an amateur job and a professional finish.
By getting your room ready correctly, you’re setting yourself up for painting success. So, roll up those sleeves, and let’s get your room in tip-top shape for its paint makeover! You’re just a few steps away from witnessing the transformative power of paint.
The Correct Way to Apply Paint
So, you’ve prepared your room meticulously, and your paint is mixed to perfection. Now it’s time to dive into the real artistry – the painting process. But how do you do it correctly to achieve that elusive professional finish? Let’s get you started on your journey to become a painting Picasso!
First off, remember the age-old wisdom that preparation is critical. Begin your painting journey by cutting in — painting the corners and edges of your room, areas that a roller cannot reach, with a paintbrush. Be patient and careful in this step; a neat edge will make your final result look polished and professional.
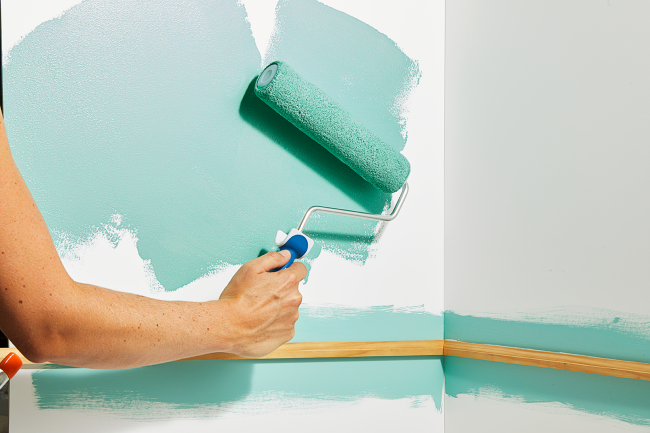
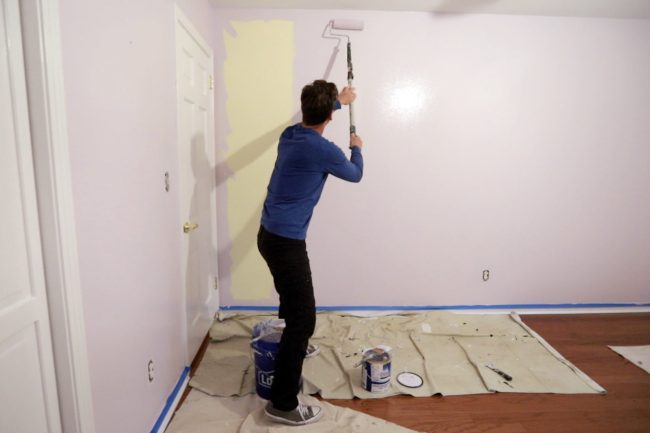
Once the edges are removed, it’s time to bring out the big guns — your paint roller. Rollers are perfect for covering large wall areas in an instant.
However, they need to be handled correctly to avoid common pitfalls. Start at the top of the wall and work your way downwards. This technique uses gravity, allowing the paint to blend smoothly and preventing noticeable streaks from forming.
Watch how much paint you’re loading onto your brush or roller as you paint. An overloaded tool can lead to unwanted drips, ruining the finish you’re striving for. On the other hand, skimping on paint can result in patchy coverage.
Strive for the perfect balance — enough paint to cover effectively, but not so much that it drips or splatters.
While one coat of paint might look adequate once applied, be aware. Most professional painters recommend using at least two coats of paint.
This ensures full, even coverage and enhances the depth and richness of your color. Patience is critical here — allow sufficient drying time between coats. Take your time with the process; let your first coat dry completely before moving on to the second. This patience will pay off with a professional-looking finish you can be proud of.
Remember, painting a room is an art, not a race. Take your time, be methodical, and, most importantly, enjoy the process! Before you know it, you’ll have a beautifully painted room to show off your newfound painting prowess.
How to Mix Your Paint Efficiently
When you’re gearing up to unleash your inner artist on your room walls, mixing your paint efficiently is crucial. This might seem like a mundane task, but trust us, a well-mixed paint can be the secret ingredient to your masterpiece. So, how do you do it?
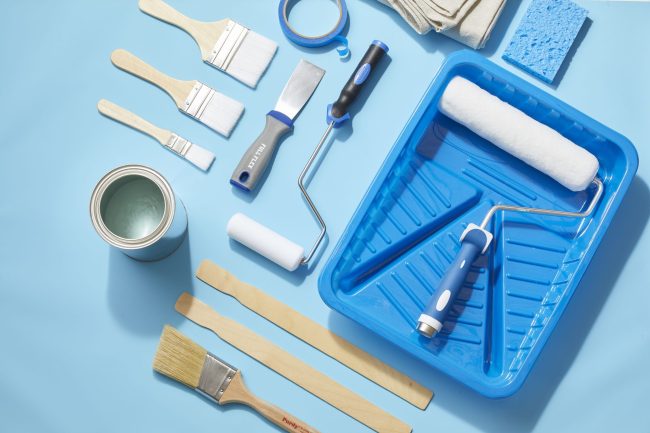
Grab a wooden paint stirrer or a drill attachment designed for paint mixing. These tools will help you blend your paint thoroughly, evenly distributing the pigment. This process is critical to achieving the same shade across your entire room.
But what happens if you run out of paint halfway through? The answer is simple: mix enough paint at the start. Calculate the amount of paint you need based on the size of your room, and mix it all together in a large container before you start painting.
This way, you’ll have a consistent color throughout your project, eliminating the risk of slight shade variations when mixing paint in separate batches.
You’re ready to start painting, but your paint mixing job is ongoing. Make sure to stir the paint occasionally in your paint tray or bucket during the painting process. This keeps the pigment from settling at the bottom, ensuring your color remains consistent from start to finish.
Remember, every good artist knows their masterpiece starts with the perfect blend of colors. And for you, that begins with efficiently mixed paint. So, roll up your sleeves, get your stirrer or drill attachment ready, and let’s mix some paint. You’re one step closer to transforming your room with the power of color.
Understanding the Drying Time
Patience, they say, is a virtue. This statement rings exceptionally accurate when waiting for paint to dry. Sure, it may not be the most thrilling part of your painting project, but it’s an essential phase that ensures a high-quality, professional result. So, let’s delve into the why and how of paint drying times.
Firstly, it’s vital to comprehend that drying time can vary greatly and be more complex than it might seem. Generally, most paints will feel dry to the touch after a few hours. However, don’t be fooled. This does not mean the paint is fully cured and ready for a second coat.
Usually, it would help if you allowed at least 24 hours for the paint to dry completely. Remember, rushing through this step can lead to uneven coverage, blotchy spots, or peeling paint in the future.
You might ask, «Why such a wide range in drying time?» Well, several factors can influence this. The type of paint you’ve chosen plays a significant role. For instance, oil-based paints take longer to dry than water-based paints. Also, the color can affect drying times, with darker hues generally taking longer.
Beyond the type and color of the paint, environmental conditions in your room can also impact drying time. If your room is particularly cold or humid, your paint may take longer to dry.
On the other hand, a well-ventilated room at a moderate temperature will facilitate faster drying. If you’re painting during a humid season, using a dehumidifier can help speed things up.
Understanding and respecting the drying time of your paint is a crucial step toward achieving a professional finish. It requires patience, but it’s an investment in the quality and longevity of your paintwork.
So, while your walls are drying, take a well-deserved break. Grab a cup of tea, sit back, and imagine the satisfaction you’ll feel once your room is beautifully transformed. You’re almost there!


