
As you embark on your DIY projects or seek to learn more about various paint types, you may have stumbled upon reflective paint. With impressive features, such as light reflection and luminosity, reflective paint stands out from other paint types.
But do you know how to clean it, make it mix it, apply it, and how long it takes to dry? This comprehensive guide will unveil the secrets of reflective paint and equip you with practical knowledge for your projects.
Contents
The Basics of Cleaning Reflective Paint
Gently does it! When it comes to cleaning reflective paint, a tender touch is essential. The secret behind reflective paint’s brilliant light-catching properties lies in the thousands of minute glass beads embedded within it.
These It’s little luminary heroes can be vulnerable to damage if exposed to overly aggressive cleaning methods. So, how do you go about cleaning without causing harm?
Firstly, think soft and mild. Arm yourself with a soft sponge and a solution of lukewarm water mixed with a gentle soap. Avoid any soap with harsh chemicals that could compromise the reflective quality of the paint.
Next, it’s time to get cleaning, but remember — gentle is the name of the game! Using the sponge, lightly sweep the reflective surface, not scrub too hard. Envision yourself as a restorer working on a priceless piece of art. That’s the level of care we’re going for here.
After you’ve washed the area, rinse it with clean, cool water. The final stage of this cleaning journey is drying the surface. For this, you’ll need a soft, lint-free cloth. Why lint-free? The tiny fibers from other types of cloth can stick to the surface and spoil the paint’s reflective qualities.
Finally, avoid using any abrasive tools during the cleaning process. Steel wool or scrub brushes do the same job, but they can scratch the surface and cause irreparable damage to those invaluable glass beads.
So, there you have it! With a bit of tender loving care, your reflective surfaces can be kept clean and shiny, maintaining their luminary properties for years.
Step-by-Step Guide on Making Reflective Paint
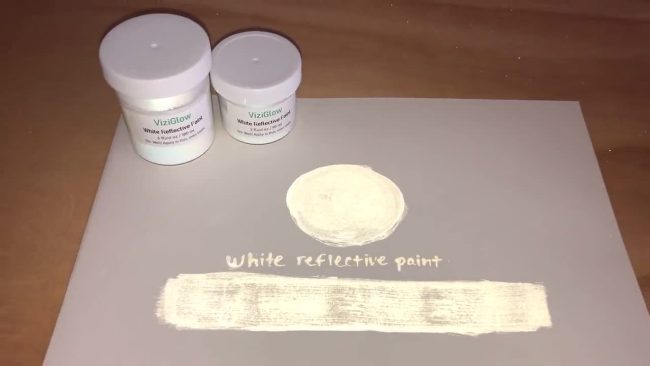
Are you ready to create your reflective paint? It’s simple, simple. It’s as you might think! You only need two key ingredients: clear paint and reflective powder made of tiny glass beads. These beads are the magic behind reflective paint’s unpaint’sght-catching quality.
Start by choosing a clear paint as your base. This can be any paint as long as it’s transient transient. You can even experiment with a transparent medium like glue or gel medium, especially if you plan to use the paint on a non-traditional surface.
Next comes the reflective powder. This is usually sold in craft and home improvement stores, but is also available online. When choosing reflective powder, consider the level of reflectivity you want. Some powders offer a subtler glow, while others reflect more intensely.
Once you have your ingredients, it’s time to it’s hot! Take equal parts of transparent paint and reflective powder. If you need more clarification on the ratio, start with a 1:1 mix.
Combine them in a container and stir gently but thoroughly. Ensure all the reflective powder is well incorporated into the transparent paint, with no clumps or pockets of powder.
A top tip here is to slowly add the reflective powder to the clear paint while stirring. This helps ensure a smooth, even mix. Remember, the more evenly distributed the glass beads are in the paint, the more reflective your final product will be.
So, get stirring, and you’ll have homemade reflective paint ready to glow soon! Remember that this paint will work best when applied on a smooth, flat surface, so choose your project wisely. It’s to let your creativity shine – literally!
How to Mix Reflective Paint Like a Pro
Mixing reflective paint can feel like a magical process, watching as ordinary paint transforms into a luminescent marvel. But remember, the outcome of this magical transformation largely depends on how well you mix your paint.
So, let’s do business and become a pro at mixing reflective paint!
Step one: Get your tools. A mixing container, a stirring stick, your chosen clear paint, and reflective powder are all you’ll need; the more precise your base paint, the more reflective your final product will be.
Step two: Start the mix. Begin with your clear paint in the mixing container. The amount of paint you start with will determine how much reflective paint you use, so pour accordingly.
Step three: The sprinkle and stir method. Slowly start sprinkling your reflective powder into the paint while stirring. Patience is key here. Rushing might cause clumping, affecting the even distribution of the reflective particles.
Step four: Be thorough. Mix until the reflective powder is completely incorporated into the paint. There should be no clumps or pockets of powder. This can take some time and elbow grease, but the result will be worth it.
Step five:
- Could you test it out?
- Apply a small amount of the mixed paint onto a test surface and let it dry.
- Check the reflectivity under a light source. If it’s as effective as you want, add more powder, stir well, and test again.
- Repeat this process until you achieve your desired level of reflectivity.
And there you have it! With these easy steps, you’re on your way to becoming a pro at mixing reflective paint. Now, let’s mlet’sainletPainlet’seflective! Always clean your tools immediately after use to prevent the reflective paint from drying on them. Happy painting!
Understanding the Drying Time of Reflective Paint
Let’s uLet’sl the mysterunra Let’shey behind the drying time of reflective paint! While it might seem as simple as watching paint dry (pun intended!), there is that. Several factors influence the drying time of your reflective paint, such as the kind of clear paint or medium your paint layer is and even the temperature and humidity of your environment.
So, how long does reflective paint take to dry? There isn’t an aisn’tn’tonisn’te-fits-all to this question, but your freshly painted reflective surface could generally be dry to the touch in 2 hours.
However, it’s imit’stimporit’se that ‘dry tooth’ touch does ‘ot’meanot’mantely dry. The paint might feel dry on the surface, but the curing process is still in full swing underneath.
For the paint to fully cure and achieve maximum reflectivity, it may take up to 24 hours. This is why giving your painted project a full day’s rest day, sewing, or moving is always a good idea. Trust us, it’s woit’stworthit’s.
Keep in mind that the drying time could vary. For instance, a colder or more humid environment could extend the drying time, while a warmer, dry environment could shorten it. Additionally, thicker layers of paint naturally take longer to dry than thinner ones.
So, as you venture into your next reflective paint project, remember patience is vital. After all, good things come to those who wait. Happy painting!
Choosing the Right Method of Applying Reflective Paint
So, you have you аve’got you’ve home madetive paint, and you are bayou rebring project to life. The next big question is, how do you apply it to get that coveted luminescent glow?
The key to successful reflective paint application is ensuring an even distribution of those tiny, light-catching glass beads suspended in the paint. Let’set effective ways to achieve this!
The champion of application methods has to be the sprayer. Using a sprayer for your reflective paint project ensures those reflective particles get evenly spread across your surface, yielding the highest degree of reflectivity.
The spray creates a fine mist, evenly distributing the paint and its reflective properties. This is particularly handy when dealing with larger surfaces or complex shapes.
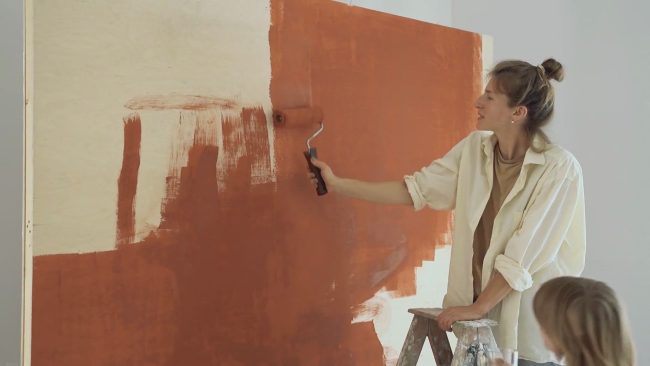
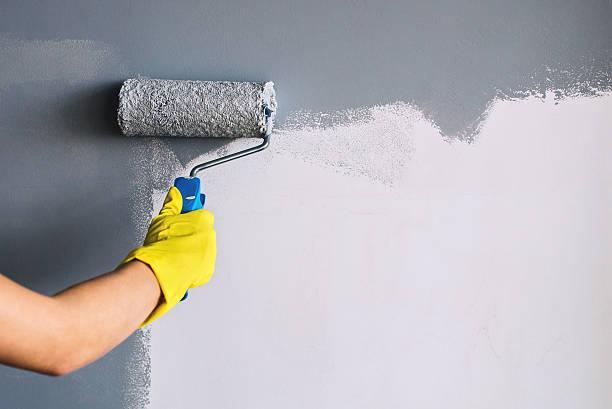
Don’t have traceries! A foam roller is your next best bet. The key here is to use a high-density foam roller, which gives a smoother finish than other rollers. Remember, those tiny glass beads love a soft surface to reflect their light!
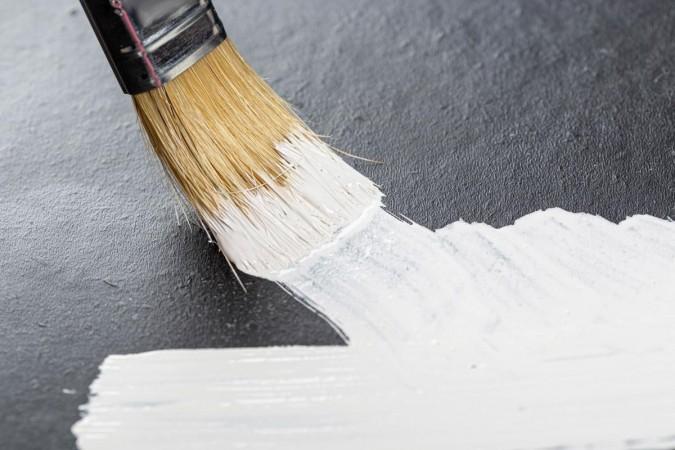
A brush can also be a good option, especially for smaller, intricate projects. Aim for multiple thin coats rather than a single thick one when using a brush. This not only aids in an even distribution of the glass beads but also improves the drying process, ensuring your paint cures properly for maximum reflectivity.
No matter which method you choose, always remember that preparation is crucial. Ensure the surface to be painted is clean, dry, and free from any dust or debris. This helps the reflective paint adhere better, thus enhancing its reflective qualities.
And there you have it! Your knowledge to apply your reflective paint like a pro. Remember, the magic is in the method! Now, go forth and paint your world reflective!
The Science Behind Reflective Paint
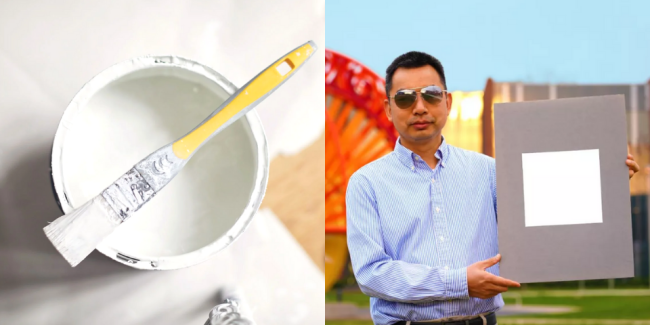
Have you ever wondered why reflective paint appears to magically glow in the dark when a light source is aimed at it? The secret lies in the thousands of microscopic glass beads suspended within the paint. These minuscule beads act like an army of miniature mirrors, bouncing light back towards its origin.
This is why a bike painted with reflective paint will radiate light when headlights illuminate it, or a piece of art painted with reflective paint will shimmer dramatically under spotlights.
Due to this fascinating light-reflecting ability, reflective paint is used in numerous applications, from road signs and safety equipment to inventive art installations. So, next time you catch a glimpse of that intriguing glow, remember, it’s selective paint at work!


