
Wall painting is a unique way to put your stamp on a living space, bringing color, texture, and creativity to your environment. But it’s more than just slapping paint on a brush and attacking the wall. A well-executed wall painting project involves:
- Choosing the right colors.
- Creating or buying suitable paints.
- Applying them is straightforward.
- Cleaning yourself. This multi
Our guide will walk you through each step in the process.
Contents
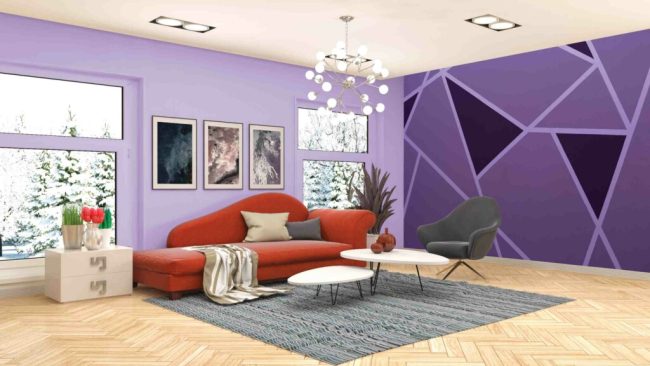
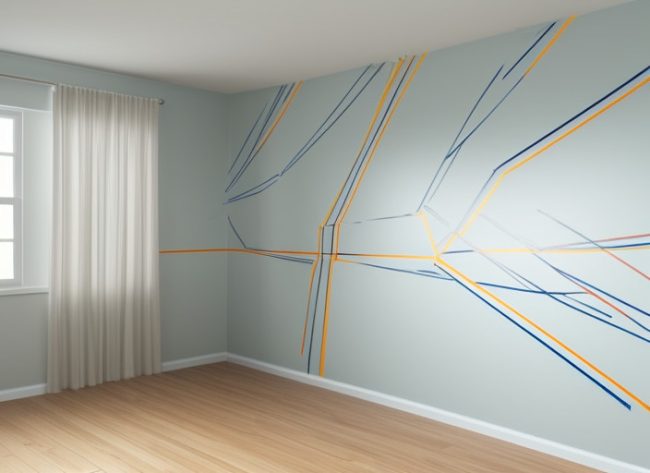
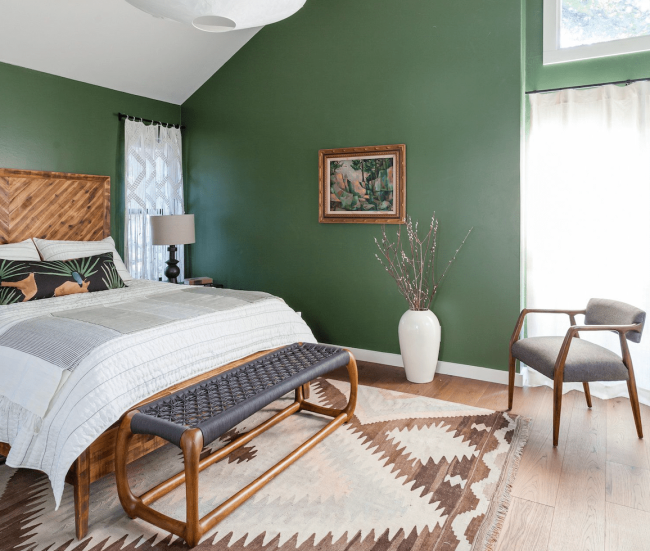
The Creativity Behind Wall Painting Ideas
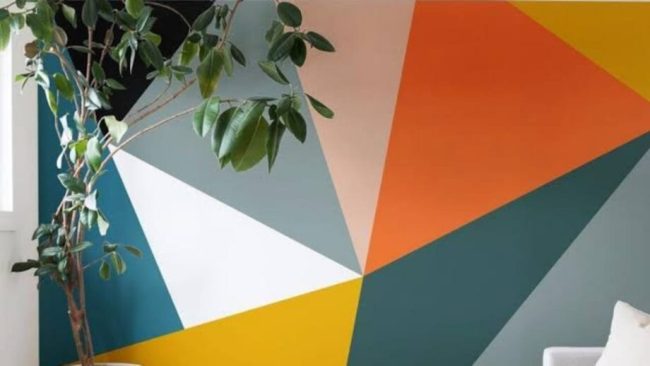
Imagine your wall as a giant canvas waiting to be filled with your creative expressions. Wall painting is an exciting journey of exploration where the destination is a room that truly represents who you are.
From minimalist monochromes to vibrant geometric patterns, murals, or a blend of styles, there’s no limit to what you can create. The beauty of wall painting is that it’s all about you – your style, passion, and vision.
Start by drawing inspiration from the world around you. It could be the intricate patterns on a butterfly’s wing, the blazing colors of a sunset, a piece of fabric, a painting that caught your eye, or a scene from your favorite book.
Let these inspirations guide you as you brainstorm and sketch out ideas. Grab some color pencils and experiment with different color schemes and combinations until you find one that speaks to you.
Remember, this is more than just a design project; it’s an opportunity to make a personal statement. So, whether you’re drawn to the whimsical charm of boho designs, the rustic allure of brick patterns, the contemporary vibe of abstract art, or the soothing tranquility of a nursery theme, choose an idea that resonates with your personality.
Ultimately, your wall is a reflection of your taste and creativity. So, take your time, let your imagination run wild, and remember – there are no rules in wall painting, only endless possibilities.
Preparing Your Paint: How to Mix
Paint mixing is an art, the equivalent of a baker meticulously combining ingredients to create the perfect batter. The process begins with selecting a base color to serve as the foundation for your masterpiece. To add character and depth to this base, you’ll need a tinting color.
Imagine you’re a chef, and your tinting color is your seasoning. Just as a bit of salt can dramatically alter the taste of a dish, a small amount of tint can significantly change the shade of your paint. Begin by adding just a smidgen of the tinting color to your base, blending them until they’re inseparable.
One thing to keep in mind during this process is patience. Always test your new color on scrap paper, letting it dry to see the final color. It’s like tasting the soup before serving it to your guests – you want to ensure it’s just right.
If the color differs from what you had in mind, add more tint. But remember, adding more seasoning than removing it is easier. Start small, and gradually increase until you’ve achieved your dream hue. Like a gourmet meal, a well-mixed paint takes time, attention, and a sprinkle of love. Happy mixing!
Crafting Your Paint: How to Make
Ready to dip your toes into the fascinating world of paint creation? It’s a thrilling venture that allows you to customize your hues and connects you to the heart of artistry. Picture yourself as an alchemist, manipulating base elements into a magical potion.
Begin this captivating process by gathering your ingredients: pigment, a binder, a grinding slab, and a muller. Pigment is your color source, whether synthetic or natural, ground into a fine powder.
Your binders, like linseed oil for oil paint or gum Arabic for watercolor, are the glue that holds your pigment particles together and allows them to stick to the surface. The grinding slab and muller are your tools, providing the means to mix your ingredients.
Imagine your grinding slab as a cooking counter and the muller as your mixing spoon. Pour your pigment onto the slab and add your binder. Now it’s time to get physical.
Using the muller, grind your ingredients together, combining them until you achieve a creamy, velvety consistency. This is where patience plays a pivotal role. Take your time, feel the texture, enjoy the blending of colors, and take pleasure in this deeply personal process.
While this method can be more time-consuming than buying paint off the shelf, it’s an experience that offers a deeper connection to your art. You’re not just applying color; you’re using a creation that is uniquely yours, made from scratch with your own hands. Each brushstroke becomes an extension of yourself, a testament to your craftsmanship.
Crafting your paint is not just about the final product. It’s about the journey, the exploration, and the pure joy of creation. Happy paint-making!
The Art of Application: Which Method to Choose

Imagine stepping up to your canvas – that bare wall brimming with potential. Paintbrush, roller, spray can, sponge, which do you choose?
The paint application process is almost as necessary as the colors you’ve selected and the paint you’ve mixed. It can distinguish between a wall that looks like a professional work of art and a DIY project that’s a bit rough around the edges.
Brushing is the go-to for many first-time painters, providing excellent control for detailed work or smaller areas. This method is your precision instrument, your scalpel if you will. It’s perfect for applying your paint in a precise, deliberate fashion.
Rollers, on the other hand, are your broad sword. They cover large areas quickly and efficiently, ensuring you won’t spend all day on a single wall. A good paint roller can make your work look smooth and consistent with minimal brush strokes.
The spray can is the wild card in the bunch. It provides a sleek, smooth finish with minimal effort. However, it requires more preparation to ensure you don’t accidentally color areas outside your intended canvas.
And then, there’s the sponge. This isn’t a tool for the faint-hearted but for those bold and daring souls who crave texture and depth. Sponging your paint onto the wall creates a unique finish unlike any other method. It’s a process of layering and building up depth, adding an element of three-dimensionality to your work.
Your choice of application method will be influenced by several factors – your comfort level, the look you’re striving to achieve, and the nature of the paint you’ve mixed or bought. The key is choosing the one that best aligns with your vision for your space, personal style, and artistic sensibilities.
Remember, the tool doesn’t make the artist – the artist creates the tool. So whether you choose a brush, roller, spray can, or sponge, each stroke of your hand brings your vision to life, turning your bare wall into a personal masterpiece.
Estimating the Time Frame: How Long Does It Take
Embarking on a wall painting adventure is exciting, but it’s important to remember that creating your masterpiece won’t happen in the blink of an eye. Like a potter carefully shapes his clay or a gardener patiently tends to his plants, wall painting also demands time and attention.
The time you’ll spend on this colorful journey hinges on several factors. Picture the canvas you’ll transform: Is it a petite powder room or a spacious living room? Naturally, a larger area will require more time.
The type of paint you’re using is another crucial factor. Oil-based paints, for instance, take longer to dry than their latex counterparts, which could mean extra drying time between coats.
Regarding coats, the number you plan on applying will also affect your timeline. A single jacket is sufficient for a light color over a similarly light existing wall.
But you might need multiple coats for each color for drastic color changes or designs involving various shades. Each layer adds depth and richness to your color and additional drying and painting time.
Your chosen application method will also significantly affect the duration of your project. Are you delicately wielding a paintbrush, creating intricate details? Or are you efficiently covering large areas with a roller? Perhaps you’re bravely embracing the texture a sponge offers or going for the smooth finish of a spray can? Each tool has its own pace.
Remember, factoring in your preparation and cleanup time is also essential. Protecting your floors and furniture, taping off your edges, and cleaning your tools are all parts that need your time and attention.
When it comes to wall painting, patience is indeed a virtue. By allowing yourself plenty of time, you can fully immerse in the process, savoring each stroke of color as it brings your vision to life. This isn’t a race against the clock; it’s a dance with color and creativity. So, set aside ample time for your painting project, and let your artistry unfold at its own pace.
After the Fun: How to Clean Up
After a satisfying day of painting, it’s time to roll up your sleeves for the final act: the cleanup. It’s like the curtain call after a marvelous theater performance. And like any good performer, you know that cleaning up after the show is just as important as the show itself. So, let’s dive into the nitty-gritty of how to make your tools as vibrant and fresh as when you first began.
If you’ve worked with water-based paints, your cleanup will be a breeze. Your faithful brushes, rollers, and trays will be as good as new with a dip in warm, soapy water. Like washing your dishes after a delicious home-cooked meal, this process is all about preserving the longevity of your tools.
However, if you’ve been working with oil-based paints, you will need a little extra muscle in the form of a paint thinner. This powerful solution will cut through the oil and clean your tools. It’s like the heavy-duty detergent for your stubborn laundry stains.
And remember, time is of the essence here. It’s vital to clean your tools immediately after use. Just like you wouldn’t let dinner plates sit overnight with food stuck on them, don’t let your tools sit around with paint drying and hardening. Prompt cleaning not only makes the task more accessible but also extends the life of your tools.
Next, let’s talk about those half-used paint cans. A well-sealed paint can be like a time capsule, preserving the brilliance of your paint for future touch-ups or projects. Close them tightly, keeping the air out to prevent the paint from drying out.
Finally, dispose of any leftover paint in a responsible manner. Think of it as your commitment to the environment, the final bow in your performance as a responsible artist.
Cleaning up might not be as fun as painting, but it’s an essential part of the process. After all, your tools are the stars of your show. By caring for them, you ensure they’re ready to shine brightly in your next artistic venture. So here’s to a job well done and a cleanup that’s just as satisfying!


