
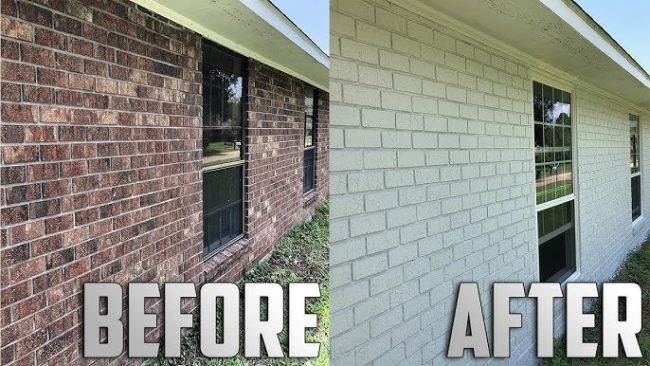
Painting bricks may seem intimidating initially, but with the right tools and techniques, you can transform your brickwork into an aesthetic masterpiece. Whether you’re looking to refresh the exterior of your home or give an indoor brick fireplace a new look, applying brick paint can revamp the overall appearance.
This comprehensive guide will help you understand the essentials, choose the suitable locations, prepare your bricks, select and mix your paint, and apply it like a pro. We will also cover how long brick paint lasts, how to clean painted bricks, and how to remove brick paint when it’s time for a change.
Contents
Understanding the Essentials of Brick Paint
In the world of paint, brick paint is a unique player, explicitly created to cling to the fantastic texture and composition of brick surfaces. It’s more than just a pretty face, with its natural beauty, durability, and breathability.
Most brick paints you’ll find on the market are latex-based, allowing the paint to adhere effectively while being flexible enough to expand and contract with changing weather conditions. This flexibility prevents cracks and chips, ensuring your painted bricks remain picture-perfect for years.
The variety of finishes available further highlights the versatility of brick paint. Whether you prefer the understated look of a flat finish, the slight shine of semi-gloss, or the high impact of a high-gloss finish, there’s a brick paint to meet your needs. Remember, the glossier the finish, the more imperfections it will show, so choose wisely depending on the condition of your bricks.
Another significant advantage of brick paint is its breathability. Sealing in the color also allows moisture to escape. This prevents the build-up of dampness that can lead to mold growth or damage to the brick. Therefore, while brick paint serves an aesthetic purpose, it also plays a role in the health and longevity of your brickwork.
Embracing brick paint requires understanding its nuances, including its unique properties and the wide range of options available. With this knowledge, you’re one step closer to transforming your brick surfaces.
Deciding Where to Apply Brick Paint
Brick paint’s wide-ranging flexibility allows you to rejuvenate various brick elements around your home. Perhaps you’re considering a striking exterior transformation by painting the brick façade of your house or a garden wall. Or, you’re pondering an interior refresh with a cozy, painted brick fireplace or an on-trend exposed brick wall.
However, remember that your location decision influences the type of brick paint you should employ. If you’re venturing outdoors, you’ll want to opt for an exterior brick paint that offers a higher degree of durability and resilience against changing weather conditions.
Indoor brickwork, however, may require special considerations, such as heat resistance for fireplaces.
As you explore your home, consider the spaces where a painted brick feature could enhance the aesthetics. It could be a neglected fireplace that could become the living room’s focal point or an exposed brick wall that could pop with a splash of color.
Alternatively, you might see potential in a faded exterior wall that could be revived with a fresh coat of brick paint.
Remember, your brick paint endeavor isn’t just about following a trend; it’s about creating a personalized space you love. Your brick transformation project can bring your vision to life with the right location and paint.
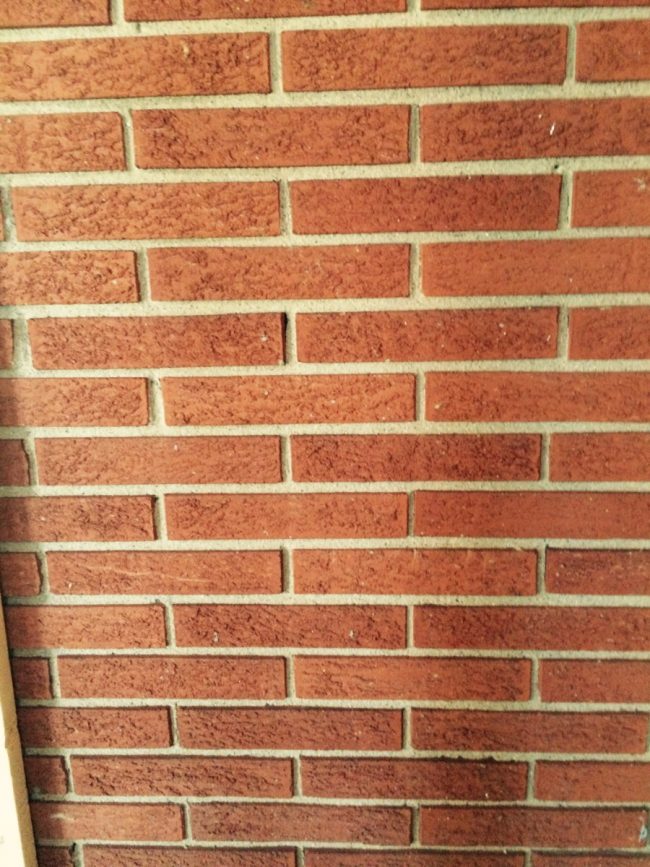
How to Prepare Bricks for Painting
Jump-starting your brick transformation requires diligent preparation to ensure a flawless finish. Start your prep work by confronting dirt, dust, or grime with a wire brush, a bucket of soapy water, and some good old-fashioned elbow grease. Vigorously scrub each brick surface to dislodge any stubborn particles hindering your paint’s adherence.
Once the brick surfaces are squeaky clean, rinse them with clean water. But take your time getting your paintbrushes. Patience is critical during this phase as your bricks need to completely dry before you can move on. A good rule of thumb is to wait at least 24 hours, giving the bricks ample time to release any retained moisture.
If you’re dealing with brand-new bricks, practice even more patience by waiting at least a year before painting. This allows them to cure fully and makes them more receptive to the paint.
The preparatory phase might not be the most exciting part of your brick paint journey, but it’s undoubtedly crucial. By dedicating time and attention to this step, you’re setting the stage for a vibrant, long-lasting paint job that will breathe new life into your brick surfaces.
Get ready to roll up your sleeves because, with the proper preparation, your bricks will be primed and ready to showcase your chosen color palette.
Choosing the Right Paint and How to Mix It
Your brick paint choice depends on several factors, including the area you’re planning to paint, the look you’re aiming for, and the overall durability of the paint. As discussed earlier, latex-based paints are often favored for their breathability and diverse finishes.
When you’ve picked your perfect hue, the next step is mixing the paint. While this might seem straightforward, doing it correctly can make all the difference to your final result.
Most paint manufacturers provide clear instructions on the paint can or their website. Generally, you’ll need to stir the paint until you’ve achieved a uniform, smooth consistency.
Here’s a handy tip: using a paint stir stick with markings can help you track the consistency and thickness of the paint. Remember that if mixing multiple cans of paint to cover a large area, combine them all in a large bucket to ensure color consistency. This process, known as «boxing» the paint, prevents minor color variations between individual cans from showing up on your brick surface.
So, grab your paint stirrer, roll up your sleeves, and get ready to mix! With the right paint selection and proper mixing, you’re on your way to breathing new life into your bricks. Remember, this is more than just a paint job. It’s about transforming a space, creating something unique, and, most importantly, enjoying the process. So, don’t rush – take your time, have fun, and embrace your inner DIY enthusiast!
How to Apply Brick Paint
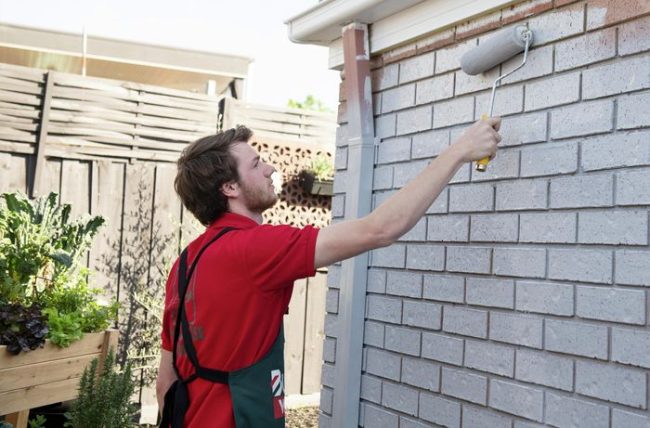
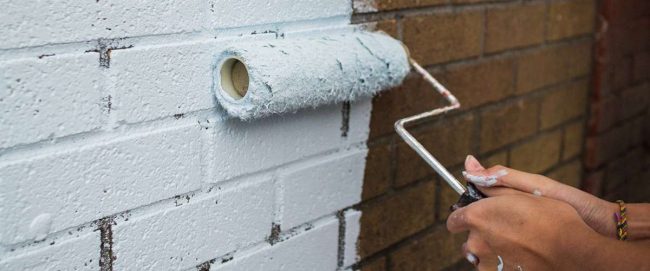
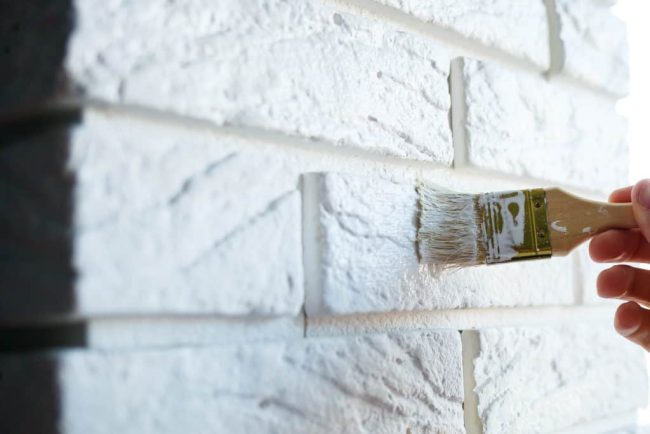
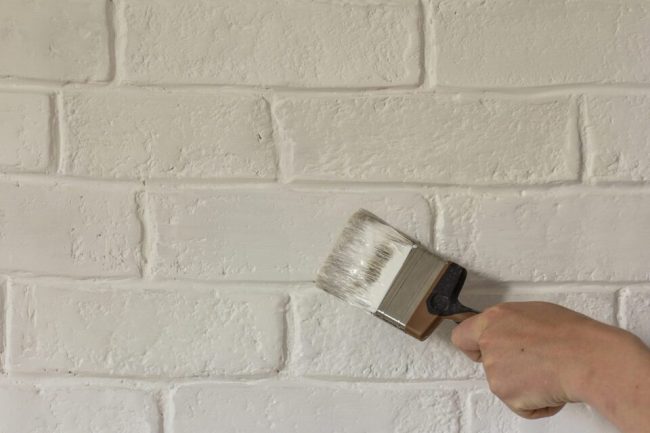
Let the transformation begin! When applying your well-mixed brick paint, start with the detailed areas using a smaller, finer paintbrush to ensure precision. Once these areas are covered, switch to a larger paint roller for the broader brick surfaces.
The key is to start from the top and gradually move downwards. This technique prevents any unsightly paint drips from marring your beautifully painted bricks. Consider applying a second coat if you want to deepen the color or improve coverage.
However, patience is crucial here. Ensure the first coat has completely dried before entering the second round. This could take anywhere from a few hours to an entire day, depending on the type of paint you’ve chosen and the weather conditions, so plan accordingly.
The actual painting process is often considered the most exciting part of this DIY project. Seeing your chosen color come to life on your bricks can be incredibly satisfying. So, enjoy every brush stroke and roller glide as you watch your bricks go from drab to fab!
How Long Does Brick Paint Last?

One question that often comes up is about the longevity of brick paint. Can it withstand the test of time, or will it require frequent touch-ups? The good news is that a well-executed brick painting project can have a surprisingly long lifespan.
However, it’s important to note that the duration varies based on several aspects. The paint quality you’ve chosen plays a significant role in this. High-quality brick paint is designed to be hard-wearing, offering you an impressive lifespan of 15 to 20 years.
Of course, how well you prepared your bricks before painting, as detailed in the previous section, is also a significant factor. Meticulous preparation can enhance the paint’s longevity, so don’t skip this crucial step! Lastly, consider your bricks’ exposure to the elements.
Exterior bricks, constantly battling against varying weather conditions, might show signs of wear sooner than interior ones. So, while the beauty of freshly painted bricks is undeniable, the impressive longevity makes brick paint a long-term investment in your home’s aesthetics.
How to Clean Painted Bricks
Maintaining the allure of your freshly painted bricks involves a gentle cleaning routine that won’t chip away at your masterpiece.
The first step is to gather your cleaning supplies. You’ll need a soft cloth or sponge, a warm water bucket, and mild detergent. This gentle approach will ensure that your vibrant brickwork maintains its fresh-faced appeal.
Once you have your supplies, mix your warm water and mild detergent to create a gentle, effective cleaning solution. Now, you’re ready to tackle any dust or grime that may compromise the brilliance of your painted bricks.
Delicately wipe down the painted brick surfaces using your soft cloth or sponge. Pay attention to stubborn spots, but treat the painted surface carefully. The goal is to gently lift away dirt without disturbing the paintwork underneath.
As with all cleaning tasks, it’s wise to spot-test your cleaning solution first. Pick an inconspicuous area and apply a small amount of your detergent mixture. This will help ensure the solution doesn’t harm the paint.
Remember, your painted bricks are a statement of your style and a testament to your DIY prowess. Treat them with the tender care they deserve, and they’ll continue to reward you with their enduring beauty. With the right cleaning approach, your painted bricks can remain an eye-catching feature in your home for years.
How to Remove Brick Paint
Eventually, you might decide it’s time for a fresh aesthetic and want to strip away the paint from your brick surfaces. While this can seem daunting, it’s completely doable with the right approach. Using a paint stripper is a standard method, but remember that it requires patience and caution.
Paint strippers contain strong chemicals, so it’s crucial to wear appropriate safety gear, including gloves and goggles, and ensure good ventilation in the area you’re working on. Follow the product’s packaging instructions to the letter to achieve the best results.
Another method is sandblasting, which is more labor-intensive and could potentially harm your bricks if not done correctly. Therefore, it’s advisable to hire a professional for this task. Remember, the goal is to reveal the original brickwork without causing damage, so take your time and carefully handle each brick.
As with all home improvement projects, the key is preparation, patience, and precision. So, gear up, take a deep breath, and prepare to unveil your bricks’ natural beauty.


